Tesla Model 3: Cover - Seat Back - 2nd Row Seat - RH (Remove and Replace)
Tesla Model 3 2017-2026 Service Manual / Seats / 2nd Row Seat Covers Pads and Trims / Cover - Seat Back - 2nd Row Seat - RH (Remove and Replace)
Remove
- Remove the 2nd row lower seat cushion. See Seat Cushion - Lower - 2nd Row (Remove and Replace).
- Remove the RH 2nd row seat side bolster. See Bolster - Side - Seat - 2nd Row - LH (Remove and Replace).
- Remove the RH 2nd row seat back. See Seat Back - 2nd Row - RH (Remove and Install).
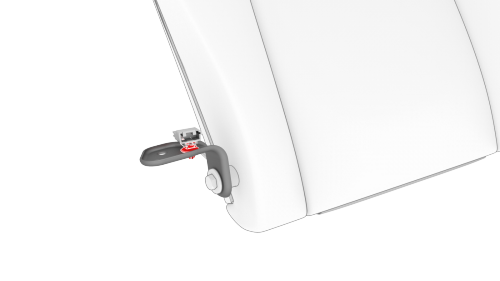
- Release the clip that attaches the electrical harness connector to the seat back hinge bracket.
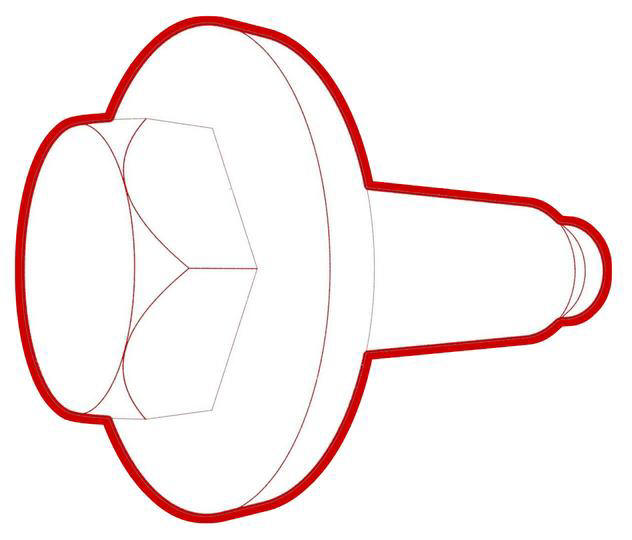
- Remove the bolt that attaches the seat back hinge bracket to the RH seat
back.
- Release the clips that attach the 2nd row seat back bezel to the seat back.
- Remove the push clip and release the clips that attach the 2nd row seat latch bezel to the seat back.
- Unzip the RH 2nd row seat back cover, and then remove the cover from the seat.
Install
Installation procedure is the reverse of removal.
READ NEXT:
 Cup Holder - 2nd Row (Remove and Replace)
Remove
Open the RH rear door.
Fold down the armrest.
Use a plastic trim tool to release the cup holder from the locking tabs.
Lift up on the cup holder and remove it from the vehicle
SEE MORE:
Contacting Tesla Roadside Assistance
Tesla Roadside Assistance is available to you, 24 hours a day, 365 days a
year, for the duration of
your warranty period.
When contacting Tesla Roadside Assistance, please provide:
The Vehicle Identification Number (VIN). The VIN is displayed when you
touch the Tesla "T" at
Motor Assembly - Rear (Remove and Replace)
Remove
Remove the rear drive unit. See Drive Unit - Rear
(Remove and Replace).
Remove the rear drive unit inverter. See Inverter -
Rear Drive Unit (Remove and Install).
Position
© 2019-2026 Copyright www.tmodel3.com
