Tesla Model 3: Foam - Cushion - Driver Seat (Remove and Replace) - Install
Tesla Model 3 2017-2024 Service Manual / Seats / Front Seat Covers Pads and Trims / Foam - Cushion - Driver Seat (Remove and Replace) / Foam - Cushion - Driver Seat (Remove and Replace) - Install
Install
- Install the seat cushion foam to the seat cushion frame, and then fasten the clips (x3) that attach the foam to the frame at the outboard and inboard sides, and at the front.
Note: Make sure that the seat heater connector and seat occupied sensor assembly passes through the seat suspension or frame.
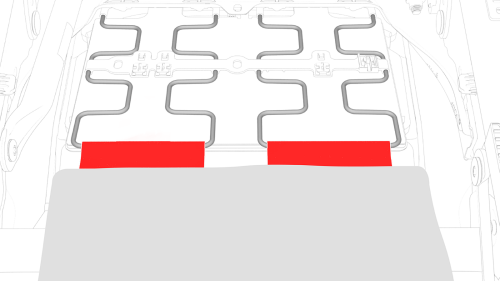
- Fasten the clips (x2) that attach the seat cushion foam to the seat suspension.
- Install the seat occupied sensor to the seat underside, and then fasten the clip that attaches the sensor to the seat underside.
- Connect the electrical harness to the seat occupied sensor connector.
- Install the seat back to the seat cushion, and then install new bolts
(x4) to attach the seat back to the cushion.
 Torque 43 Nm
 - Install the seatbelt buckle. See Buckle - 1st Row - LH (Remove and Replace).
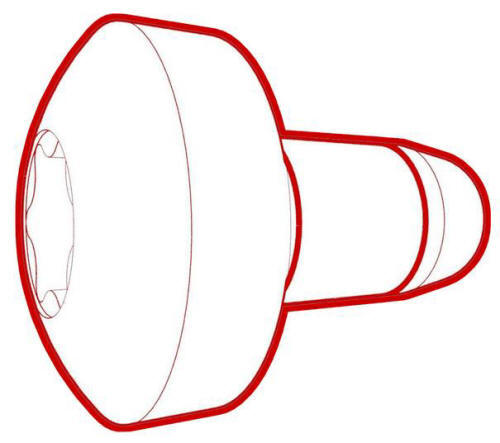
- Install the seat heater connectors to the seat underside, and then fasten the clips that attach the connectors to the seat underside.
- Connect the electrical harness to the seat heater connectors.
.jpg)
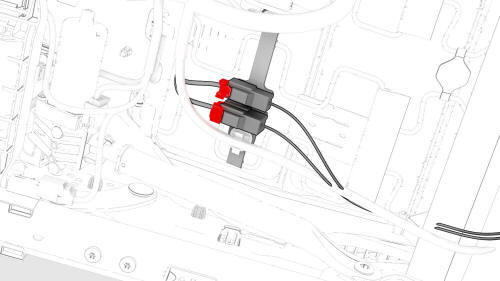
- Install the electrical harness to the seat frame, and then fasten the clips that attach the electrical harness to the seat frame.
.jpg)
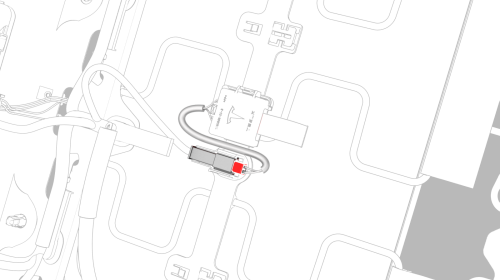
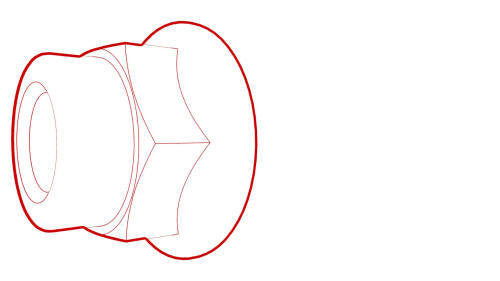
- Connect the electrical harness to the lumbar pump connector.
.jpg)
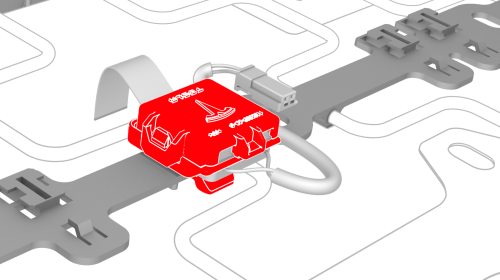
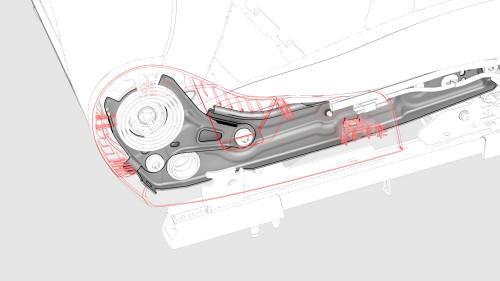
- Connect the electrical harness to the ECU connector.
.jpg)
- Connect the electrical harness to the recliner motor connector.

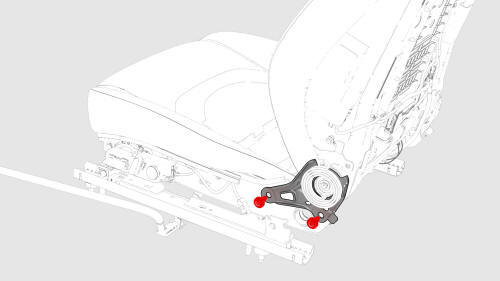
- Install the side airbag to the seat frame, and then install new nuts to
attach the airbag to the frame.
 Torque 5.4 Nm
.jpg)
- Connect the electrical harness to the side airbag connector.

- Fasten the clips that attach the outboard side of the seat back cover to the seat back frame.
- Hook the upper flaps that cover the LH and RH lower corners of the seat back frame.
- Hook the lower flaps that cover the LH and RH lower corners of the seat back frame.
- Install the seat back shell to the seat. See Shell - Seat Back - Driver (Remove and Replace).
- Install the inner side shield to the seat, and then fasten the clips that attach the shield to the seat.
- Install the side outer cover to the driver seat. See Cover - Outer Side - Driver Seat (Remove and Install).
- Install the driver headrest trim. See Trim - Headrest - Driver (Remove and Replace).
- Install the driver seat. See Seat - Driver (Remove and Replace).
READ NEXT:
 Cover - Seat Back - 2nd Row Seat - RH (Remove and Replace)
Remove
Remove the 2nd row lower seat cushion. See
Seat Cushion - Lower - 2nd Row (Remove and Replace).
Remove the RH 2nd row seat side bolster. See
Bolster - Side - Seat - 2nd Row - LH (Remove an
Cup Holder - 2nd Row (Remove and Replace)
Remove
Open the RH rear door.
Fold down the armrest.
Use a plastic trim tool to release the cup holder from the locking tabs.
Lift up on the cup holder and remove it from the vehicle
SEE MORE:
Autopilot
This is a thorough rundown of the Autopilot Advanced Driver Assistance System (ADAS). It discusses autopilot's features and constraints while highlighting how it improves driving safety and comfort.
This section gives a summary of the functioning of several Autopilot features, including Traffic-Awa
Fascia - Front (Remove and Replace)-Install
Install
Installation procedure is the reverse of removal.
Top
Bottom
Install the front fascia grille onto the front fascia, and then fasten
the clips (x9) that attach the grille to the fascia.
Install the screws that attach the front fascia grille to the front
fascia.
Torque 1.8 Nm
© 2019-2024 Copyright www.tmodel3.com
