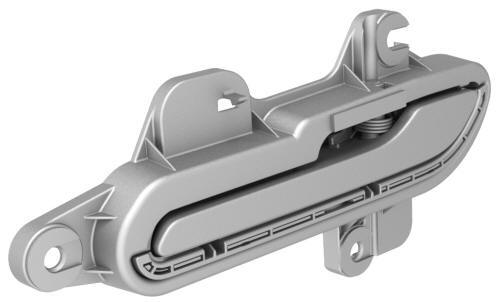
Tesla Model 3: Handle - Exterior Release - Door - Front - LH (Remove and Replace)
Tesla Model 3 2017-2026 Service Manual / Closures / Exterior Door Handles / Handle - Exterior Release - Door - Front - LH (Remove and Replace)
.jpg)
Warning: The side impact airbag deployment depends on the front door sensor's ability to detect a side impact from air pressure. Make sure that there are no uncovered holes in the front door shells. Additionally, always reinstall plugs or tape when servicing or inspecting the front doors and their components.
Remove
- Remove the front LH door glass. See Glass - Door - LH - Front (Remove and Replace).
- Remove the front LH door closeout panel. See Closeout Panel - Door - Front - LH (Remove and Install).
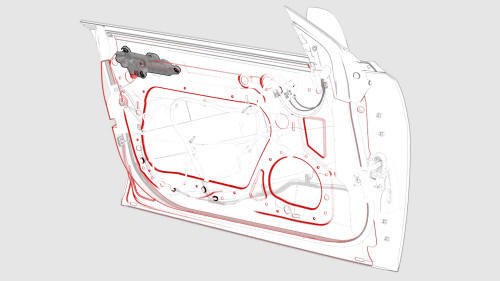
- Disconnect the electrical wiring harness from the door handle connector.
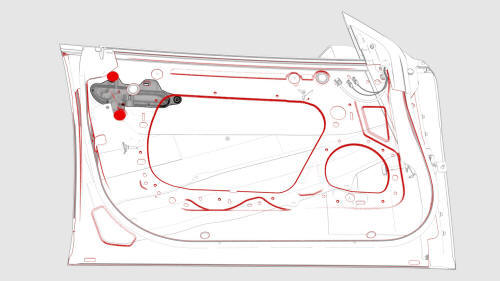
- Remove the plugs that cover access to the door handle nuts.
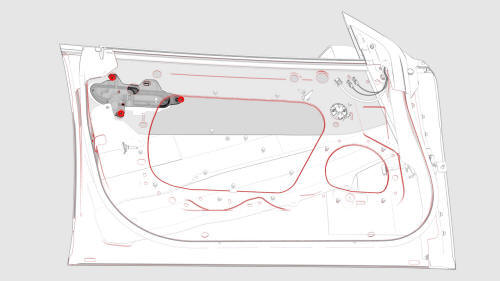
- Remove the nuts that attach the door handle to the door, and then remove
the handle from the door.
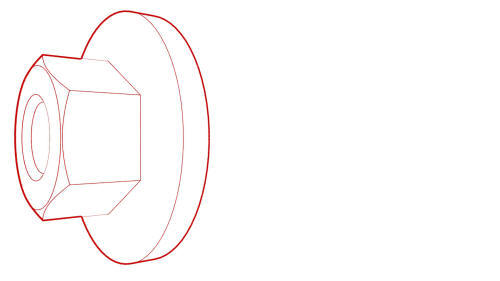 Torque 7 Nm
Install
Installation procedure is the reverse of removal.
READ NEXT:
 Handle - Exterior Release - Door - Rear - LH (Adjust)
SPECIAL TOOLS
Gauge, Taper Step (1080552-00-A)
Procedure
Remove the LH rear door exterior release handle. See Handle - Exterior
Release - Door - Rear - LH (Remove and Replace).
Exercise the ha
Handle - Exterior Release - Door - Rear - LH (Remove and Replace)
Warning: The side impact airbag deployment depends on the front door
sensor's ability to detect a side impact from air pressure. Make sure that there
are no uncovered holes in the front door shel
SEE MORE:
Penthouse Air Leak Test
SPECIAL TOOLS
Pack Enclosure Leak Tester, HV Battery (1026636-00-A)
Pack Kit, Enclosure, Leak Test, HV Battery, Complete (1140501-00-A)
Kit, Encl Leak Test Adapters, HV Battery (1144879-00-A)
Kit, Dummy Plug (1455410-00-A)
Cap, Logic Conn, Inv, 3DU (1108272-00-B)
Parent topic:
1610 - HV Battery En
Breather - Front Drive Unit (Remove and Replace)
Remove
Remove the front subframe assembly. See
Subframe Assembly - Front (Dual Motor) (Remove and Install).
Remove the front drive unit breather.
Torque 5 Nm
Install
Installation procedure is the reverse of removal.
© 2019-2026 Copyright www.tmodel3.com
