Tesla Model 3: Headlight - LH- Install
Tesla Model 3 2017-2025 Service Manual / Electrical / Exterior Lights / Headlight - LH (Remove and Replace) / Headlight - LH- Install
Install
- Install the LH headlight to the vehicle.
Caution: Do not damage the headlight during installation.
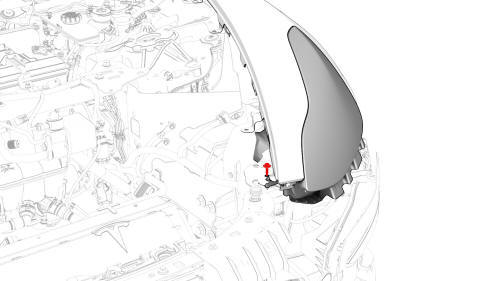
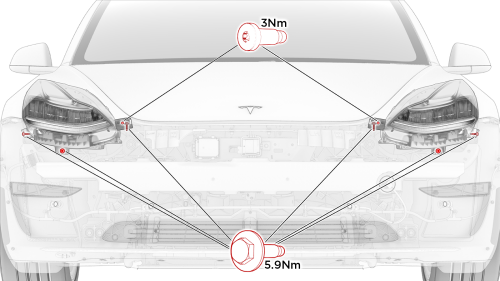
- Install the fastener(s) that attach the LH headlight to the body.
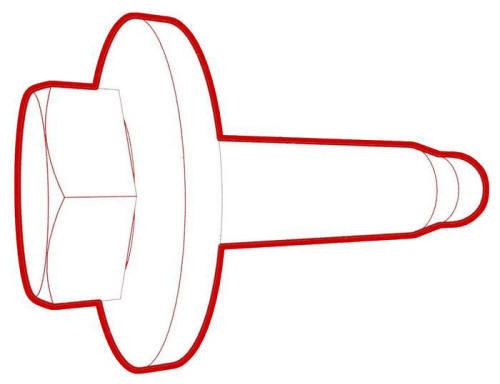 Torque 5.9 Nm
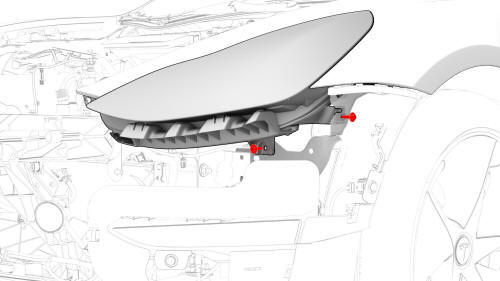
- Install the bolt that attaches the fender bracket to the body.
 Torque 3 Nm
.jpg)
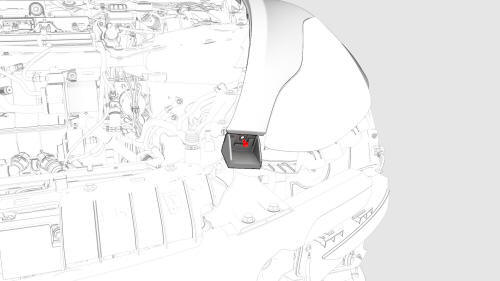
- Connect the electrical connector for the LH headlight.
- Install the front fascia. See Fascia - Front (Remove and Install).
- Connect a laptop with Toolbox to the vehicle.
- Use Toolbox to update the vehicle firmware.
- Install the underhood storage unit. See Underhood Storage Unit (Remove and Replace).
- Install the hood latch cover. See Cover - Hood Latch (Remove and Replace).
- Install the cabin intake duct. See Duct - Cabin Intake (Remove and Replace).
- Install the rear underhood apron. See Underhood Apron - Rear (Remove and Replace).
- Remove the vehicle from the lift.
- Adjust the LH headlight:
- Headlights - Adjust - NA (Tool Method)
- Headlights - Adjust - NA (Wall Method)
- Headlights - Adjust - EMEA (Wall Method)
READ NEXT:
 Light - Brake - High Mounted (Remove and Replace)
Remove
Remove the LH 2nd row seat side bolster. See Bolster - Side - Seat - 2nd
Row - LH (Remove and Replace).
Remove the LH side rail trim. See Trim - Side Rail - LH (Remove and
Install).
R
Procedure
Special tools required for this procedure:
SPECIAL TOOLS
Pliers, Clip Removal (1133569-00-A)
On a wall, measure 14.5 in (36.8 cm) from the floor, and then apply a
length of 1-inch masking tape h
SEE MORE:
To Pause Parking
To pause Autopark, press the brake pedal
once. Model 3 stops and remains stopped until
you touch Resume on the touchscreen.
To Cancel Parking
Autopark cancels the parking sequence when
you manually move the steering wheel,
change gears, or touch Cancel on the
touchscreen. Autopark also cancel
Maintaining Tire Pressures
Keep tires inflated to the pressures shown on
the Tire and Loading Information label, even if
it differs from the pressure printed on the tire
itself. The Tire and Loading Information label is
located on the center door pillar and is visible
when the front door is open.
Note: If your Model 3 i
© 2019-2025 Copyright www.tmodel3.com
