Tesla Model 3: Housing - Center Display (Remove and Replace)
Tesla Model 3 2017-2026 Service Manual / Instrument Panel / Housing - Center Display (Remove and Replace)
Remove
- Remove the touchscreen. See Touchscreen (Remove and Replace).
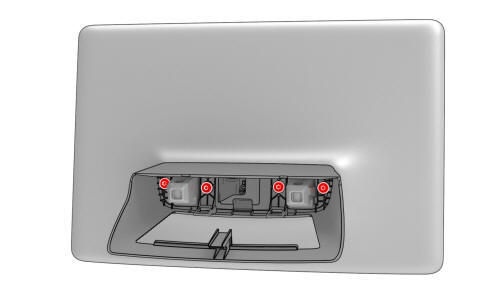
- Remove the screws that attach the center display housing to the
touchscreen, and then slide the center display housing from the touchscreen.
Torque 3 Nm

Install
Installation procedure is the reverse of removal.
READ NEXT:
 IP Carrier (Remove and Install)
Remove
Remove the LH and RH lower A-pillar trim. See
Trim - A-Pillar - Lower - LH (Remove and Replace).
Remove the LH and RH upper A-pillar trims. See
Trim - A-Pillar - Upper - LH (Remove and
IP Carrier (Remove and Replace)
Remove
Remove the IP carrier. See
IP Carrier (Remove and Install).
Remove the upper gap hider nuts from the IP carrier.
Remove the screws that attach the LH and RH side window defroster ducts
Vent - Front - LH (Remove and Replace)
Remove
Remove the vent finisher. See
Finisher - Vent (Remove and Replace).
Remove the screw that attaches the LH front vent, and then pull out the
LH side of the LH front vent to release
SEE MORE:
Vehicle Loading
Load Capacity Labeling
It is important to understand how much
weight your Model 3 can safely carry. This
weight is called the vehicle capacity weight
and includes the weight of all occupants,
cargo and any additional equipment added to
your Model 3 since it was manufactured.
Two labels attac
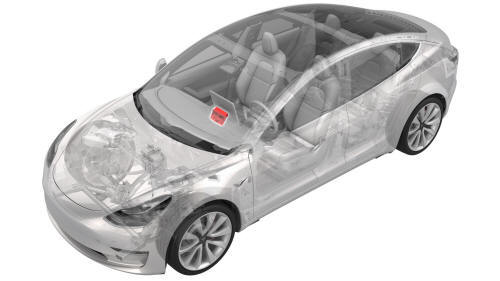
Battery Information
About the Battery
Model 3 has one of the most sophisticated
battery systems in the world. The most
important way to preserve the Battery is to
LEAVE YOUR VEHICLE PLUGGED IN when
you are not using it. This is particularly
important if you are not planning to drive
Model 3 for several weeks. Wh
© 2019-2026 Copyright www.tmodel3.com
