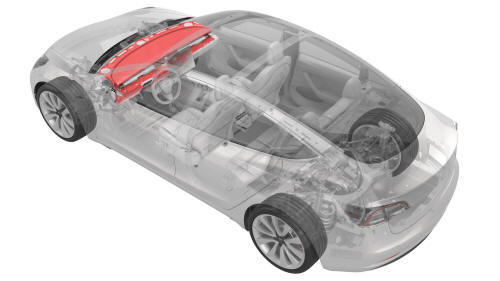
Tesla Model 3: IP Carrier (Remove and Install)
Tesla Model 3 2017-2026 Service Manual / Instrument Panel / IP Carrier (Remove and Install)
Remove
- Remove the LH and RH lower A-pillar trim. See Trim - A-Pillar - Lower - LH (Remove and Replace).
- Remove the LH and RH upper A-pillar trims. See Trim - A-Pillar - Upper - LH (Remove and Replace).
- Remove the driver and front passenger seats. See Seat - Driver (Remove and Replace).
- Remove the driver knee airbag. See Airbag - Knee - Driver (Remove and Install)
- Remove the LH footwell duct. See Duct - Footwell - LH (Remove and Replace).
- Remove the front passenger knee airbag. See Airbag - Knee - Front Passenger (Remove and Replace).
- Remove the center console. See Center Console (Remove and Install)
- Remove the glove box. See Glove Box (LHD) (Remove and Replace).
- Remove the RH footwell duct. See Duct - Footwell - RH (Remove and Replace).
- Remove the RH air wave duct. See Duct - Air Wave - RH (Remove and Replace).
- Remove the steering column control module. See Module - Steering Column Control (Remove and Replace).
- Remove the touchscreen. See Touchscreen (Remove and Replace).
- Remove the RH front vent. See Vent - Front - RH (Remove and Replace).
- Remove the LH front vent. See Vent - Front - LH (Remove and Replace).
- Remove the LH and RH dash speakers. See Speaker - Dash - LH (Remove and Replace).
- Remove the center dash speaker. See Speaker - Dash - Center (Remove and Replace).
- Remove the dash tweeter. See Tweeter - Dash (Remove and Replace).
- Disconnect the electrical wiring harness from the front passenger airbag connectors (x3).
- Remove the bolts (x4) that attach the front passenger airbag to the cross car beam. Torque 8 Nm
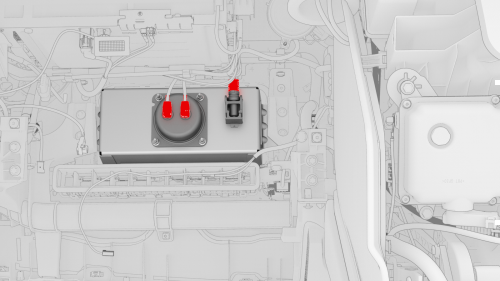
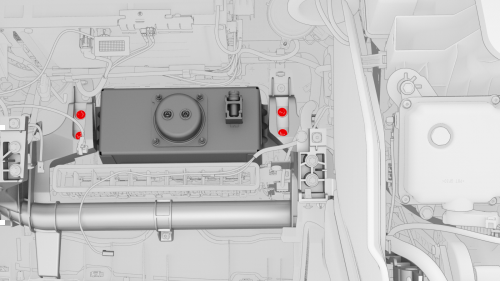
- Remove the screws (x2) that attach the IP carrier to the cross car beam
at the front passenger airbag.
 Torque 2.3 Nm
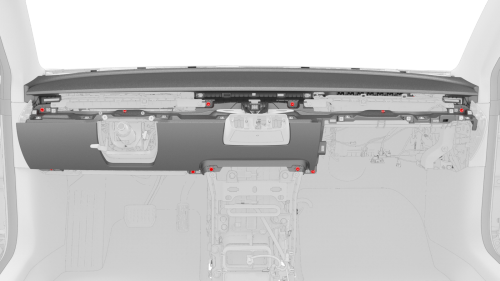
- Remove the screws (x11) that attach the IP carrier to the cross car beam.
Torque 2.3 Nm
- Move the electrical wiring harness for the touchscreen through the IP carrier.
- Remove the IP carrier from the cross car beam, and then remove the IP
carrier from the vehicle.
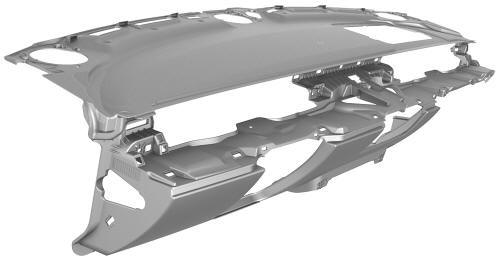
Install
Installation procedure is the reverse of removal, except for the following:
- Clean the lower inside of the windshield.
- Align the tabs of the IP carrier with the channels in the body below the windshield.
- Install the foam half-circle into the center of IP carrier at base of windshield.
READ NEXT:
 IP Carrier (Remove and Replace)
Remove
Remove the IP carrier. See
IP Carrier (Remove and Install).
Remove the upper gap hider nuts from the IP carrier.
Remove the screws that attach the LH and RH side window defroster ducts
Vent - Front - LH (Remove and Replace)
Remove
Remove the vent finisher. See
Finisher - Vent (Remove and Replace).
Remove the screw that attaches the LH front vent, and then pull out the
LH side of the LH front vent to release
Vent - Front - RH (Remove and Replace)
Remove
Remove the LH instrument panel end cap. See
End Cap - Instrument Panel - LH (Remove and Replace).
Remove the LH and RH air wave end caps. See
End Cap - Air Wave - LH (Remove and Replace
SEE MORE:
Fuse - Power Conversion System - HV Battery (Remove and Replace)
Fuse - Power Conversion System - HV Battery-
Remove
SPECIAL TOOLS
Ratchet, 1/4" Sq Dr, HV Insulated (1057602-00-A)
Ext Bar, Wobble, 1/4" Dr, HV Insulated (1057603-00-A)
Skt, 1/4" Sq Dr, 8mm, HV Insulated (1057604-00-A)
Magnet, Flexible, HV Insulated, 18" (1057607-00-A)
Asy, Service Cover, Penthou
Solenoid - Glove Box (Remove and Replace)
Remove
Remove the glove box. See
Glove Box (LHD) (Remove and Replace).
Remove and discard the NVH pad from the glove box.
Note: The NVH pad is one time use only.
Release the clips that attach the glove box solenoid electrical harness
to the glove box.
Remove the bolts that
© 2019-2026 Copyright www.tmodel3.com
