Tesla Model 3: Inverter - Rear Drive Unit - Remove
Tesla Model 3 2017-2024 Service Manual / Rear Drive Unit / Rear Drive Inverter / Inverter - Rear Drive Unit (Remove and
Install) / Inverter - Rear Drive Unit - Remove
.jpg)
SPECIAL TOOLS
Skt, 3/8in Dr, 10EP Torx Plus External (1130479-00-A)
Caution: This procedure must not be used for replacement of a defective inverter. For inverter replacement, see Inverter - Rear Drive Unit (Remove and Replace). Use this procedure to remove and install a functional inverter as part of another component's service operation. For example, the rear drive unit motor or gearbox.Remove
- Remove the rear drive unit. See Drive Unit - Rear (Remove and Replace).
- Secure an ESD strap to the inverter housing.
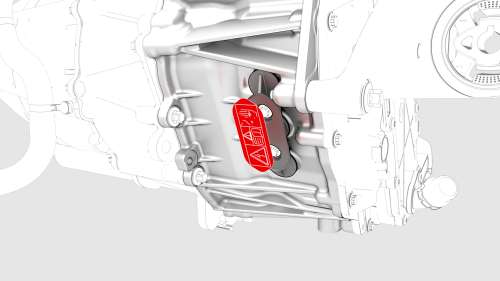
- Remove the 3-phase access label.
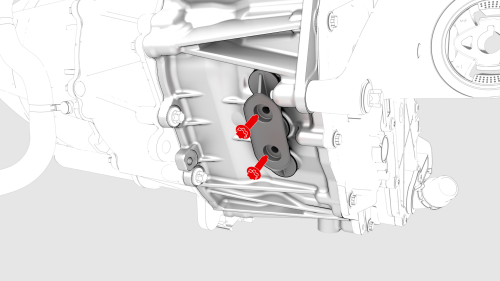
- Remove the bolts (x2) that attach the 3-phase
access cover to the rear drive unit.
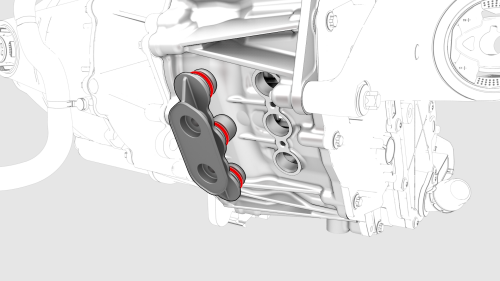
- Remove and discard the 3-phase access cover.
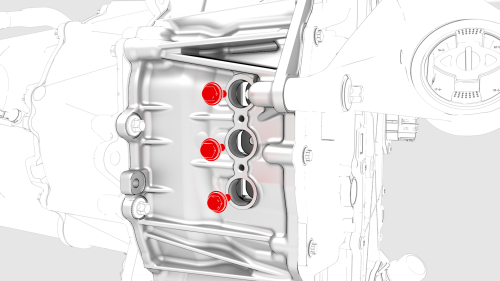
- Remove and discard the bolts (x3) that attach
the 3-phase terminals to the inverter assembly.
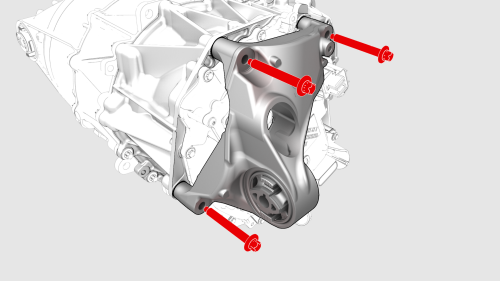
- Remove the bolts that attach the LH mount to
the rear drive unit, and remove the mount from the rear
drive unit.
- Remove and discard the bolts (x12) that attach
the inverter to the gearbox assembly.
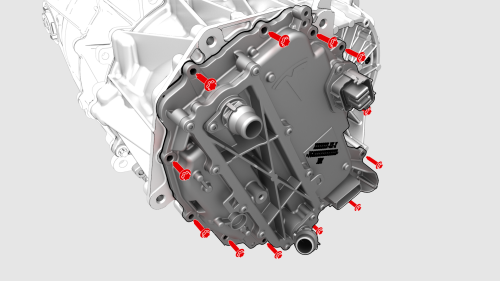
- Carefully remove the inverter assembly from
the rear drive unit and allow the coolant to drain.

- Remove and discard the inverter gasket.
READ NEXT:
 Inverter - Rear Drive Unit - Install
Install
Secure the ESD strap to the inverter housing.
Carefully pee
Inverter - Rear Drive Unit - Remove
SPECIAL TOOLS
Skt, 3/8in Dr, 10EP Torx Plus External
(1130479-00-A)
Lever
SEE MORE:
Before Driving
The following best practices can help ensure
that you have the best ownership experience
possible in harsh cold weather conditions.
Before Driving
Warm the cabin and Battery ahead of
departure for maximum range and
performance. There are several ways to
precondition your vehicle:
Mobile a
Evaporator- Install
Install
Install the new evaporator into the HVAC assembly.
Caution:
Do not damage the temperature sensor when installing the new evaporator
into the HVAC assembly.
Note: Make sure that the evaporator slides into the HVAC assembly
with the correct channels until the evaporator stops. The evap
© 2019-2024 Copyright www.tmodel3.com
