Tesla Model 3: Link - Stabilizer Bar - Front - LH (Remove and Replace)
Tesla Model 3 2017-2026 Service Manual / Suspension / Front Suspension (Including Hubs) / Link - Stabilizer Bar - Front - LH (Remove and Replace)
Remove
- Remove the LH front wheel. See Wheel (Remove and Install).
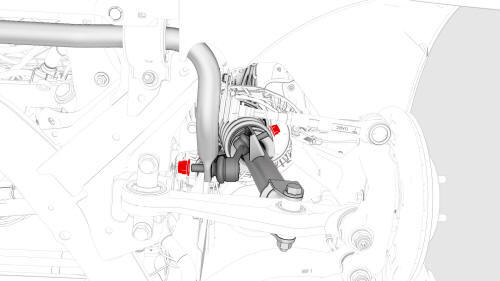
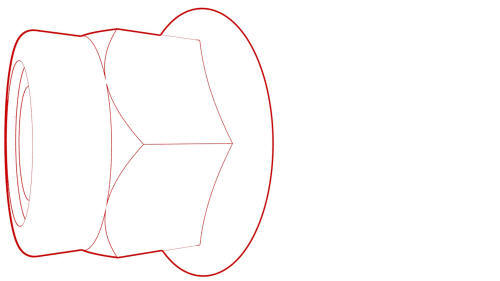
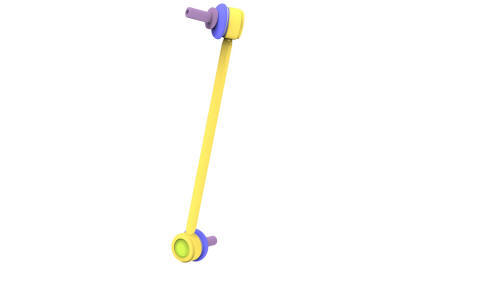
- Remove and discard the nuts that attach the front LH stabilizer bar link
to the stabilizer bar and damper, and then remove the link from the vehicle.
 Torque 98 Nm
Install
Installation procedure is the reverse of removal, except for the following:
Replace all nyloc nuts.
READ NEXT:
 Stabilizer Bar - Front (Remove and Replace)
Remove
Remove the front fascia valance. See
Valance - Front Fascia (Remove and Replace).
LH side shown, RH similar
Remove and discard the nuts that attach the front stabilizer bar to the
L
Suspension - Front (Check Torque)
Procedure
Remove the LH and RH front wheels. See
Wheel (Remove and Install).
Remove the front aero shield panel. See
Panel - Aero Shield - Front (Remove and Replace).
Remove the clips (x2) t
SEE MORE:
Sensor - Airbag - Front - Center (Remove and Replace)
Note:
This procedure was formulated using a release candidate or production
model. Follow safety requirements and use extreme caution when working on or
near high-voltage systems and components.
Remove
Open all the doors.
Lower all the windows.
Remove the 2nd row lower seat cushion. See Sea
Gas Strut - Hood - LH (Remove and Replace)
Remove
Open the hood.
Use a prop to attach the hood assembly in the open position.
Release the clip that attaches the hood gas strut to the hood mount.
Release the clip that attaches the hood gas strut to the body mount, and
then remove the hood gas strut from the vehicle.
Inst
© 2019-2026 Copyright www.tmodel3.com
