Tesla Model 3: Module - Cooling Fan- Remove
Tesla Model 3 2017-2024 Service Manual / Thermal Management / Refrigerant System / Module - Cooling Fan (Remove and Install) / Module - Cooling Fan- Remove

Remove
- Raise and support the vehicle. See Raise Vehicle - 2 Post Lift
- Remove the 2nd row lower seat cushion. See Seat Cushion - Lower - 2nd Row (Remove and Replace).
- Remove the rear underhood apron. See Underhood Apron - Rear (Remove and Replace).
- Remove the cabin intake duct. See Duct - Cabin Intake (Remove and Replace).
- Remove the outer HVAC plenum duct. See Duct - HVAC Plenum - Outer (Remove and Replace).
- Remove the hood latch cover. See Cover - Hood Latch (Remove and Replace).
- Remove the underhood storage unit. See Underhood Storage Unit (Remove and Replace).
- Perform the A/C refrigerant recovery. See A/C Refrigerant (Recovery and Recharge).
- Disconnect 12V power. See 12V Power (Disconnect and Connect).
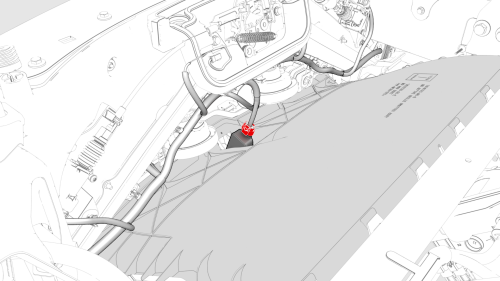
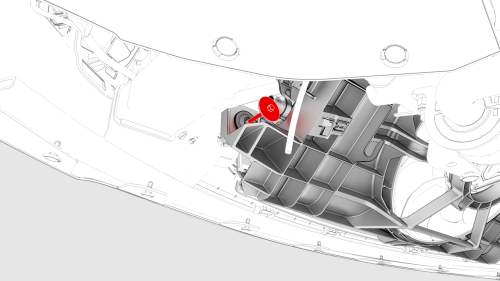
- Disconnect the active grille shutter electrical connector.
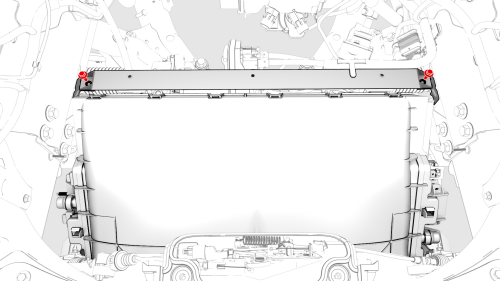
- Remove the bolts that attach the underhood storage unit reinforcement bracket to the cooling fan, and then slide the reinforcement bracket aside for clearance
- Remove the front aero shield panel. See Panel - Aero Shield - Front (Remove and Replace).
- Remove the front fascia valance. See Valance - Front Fascia (Remove and Replace).
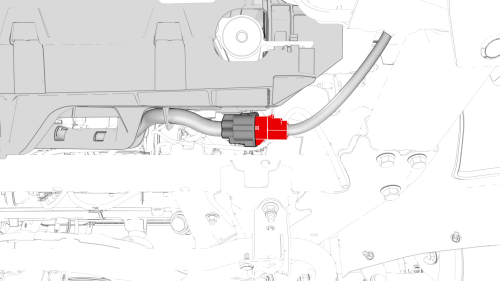
- Disconnect the electrical harness from the cooling fan module connector.
- Place coolant drain container underneath the LH front side of the vehicle.
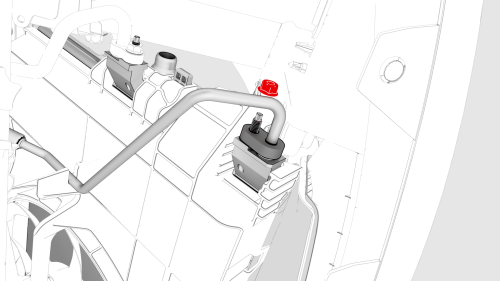
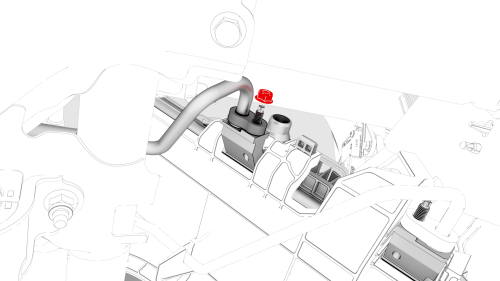
- Release the clip that attaches the radiator inlet hose to the cooling fan module, remove the hose, and then plug the hose.
- Place coolant drain container underneath the RH front side of the vehicle.
- Release the clip that attaches the radiator outlet hose from the cooling fan module, remove the hose, and then plug the hose.
- Remove the coolant drain container from underneath the vehicle.
Note: Make sure that the refrigerant has fully recovered before continuing this procedure.
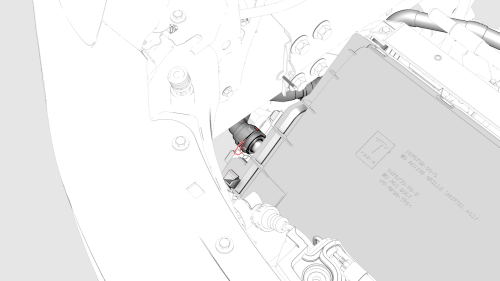
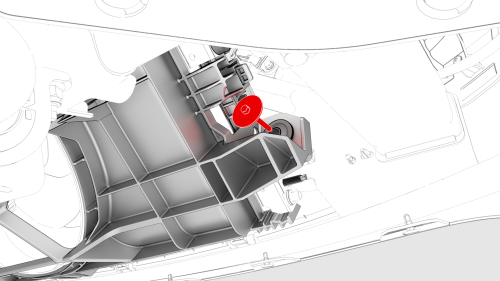
- Remove the nut that attaches the suction/liquid line to the cooling fan module, and then disconnect the A/C suction line.
- Remove and discard the O-ring from the suction/liquid line.
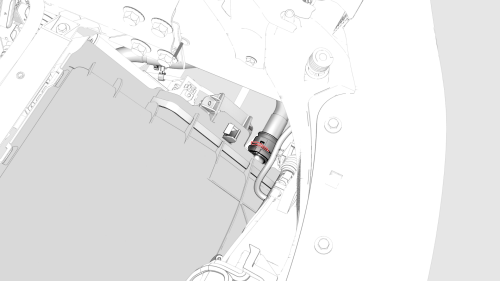
- Remove the nut that attaches the discharge line to the cooling fan module, and then disconnect the discharge line.
- Remove and discard the O-ring from the discharge line.
LH Side
RH Side
READ NEXT:
 Module - Cooling Fan - Install
Install
LH Side
RH Side
With an assistant, put the cooling fan module into position from below
the vehicle, and then hand-tighten the bolts that attach the bottom of the
cooling fan module
Module - Cooling Fan (Remove and Replace)
Remove
Remove the cooling fan module. See Module - Cooling Fan (Remove and
Install).
Release the clips (x14) that attach the active grille shutter to the
cooling fan module, and then re
Mounting - A/C Compressor (Remove and Replace)
Remove
Remove the 2nd row lower seat cushion. See Seat Cushion - Lower - 2nd
Row (Remove and Replace).
Remove the rear underhood apron. See Underhood Apron - Rear (Remove and
Replace).
Remov
SEE MORE:
Body Repairs
If your Model 3 is in a collision, contact Tesla
or a Tesla-approved Body Shop to ensure that
it is repaired with genuine Tesla parts. Tesla
has selected and approved body shops that
meet strict requirements for training,
equipment, quality, and customer satisfaction.
Some repair shops and i
Inverter Coolant Leak Test
DRAFT
Warning:
This procedure was derived from pre-production computer
models, and might not reflect the real-world situation. Warnings
and cautions might be missing. Follow safety requirements and
use extreme caution when working on or near high voltage s
© 2019-2024 Copyright www.tmodel3.com
