Tesla Model 3: Pyrotechnic Battery Disconnect- Install
Tesla Model 3 2017-2024 Service Manual / Battery System / HV Battery Electrical Components / Pyrotechnic Battery Disconnect (Remove and Replace) / Pyrotechnic Battery Disconnect- Install
Install
- Remove the dummy disconnect from where the pyrotechnic battery disconnect will install.
- Use an IPA wipe to clean the HV mating surfaces of the shunt, busbar, and the pryotechnic battery disconnect.
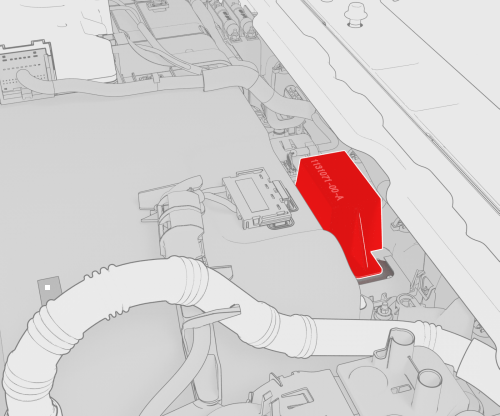
- Position the pyrotechnic battery disconnect into the HV battery for installation. Make sure to align the pins of the connector with the new pyrotechnic battery disconnect.

- Install the new bolts that attach the pyrotechnic battery disconnect to
the HV battery, and then mark the bolts with a paint pen after they are
torqued.
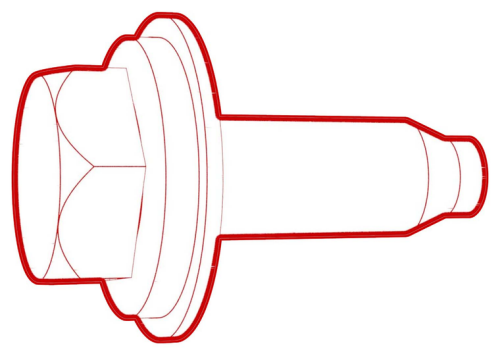 Torque 9 Nm
.jpg)
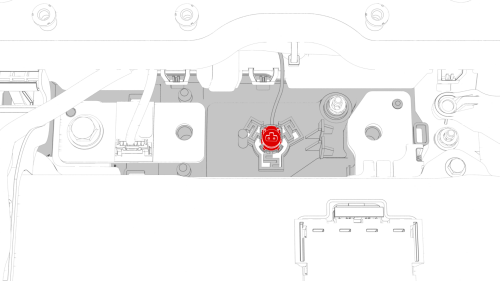
- Use the Hioki resistance meter to measure the resistance at the HV joint between the newly-installed pyrotechnic battery disconnect and the LH busbar.
Note: The maximum acceptable resistance is 0.060 mΩ (60 μΩ). If the resistance is above this value, escalate a Toolbox session, as appropriate.
Generic Measurement - Actual busbars and fasteners might appear
different
- Use the Hioki resistance meter to measure the resistance at the HV joint between the newly-installed pyrotechnic battery disconnect and the shunt.
Note: The maximum acceptable resistance is 0.045 mΩ (45 μΩ). If the resistance is above this value, escalate a Toolbox session, as appropriate.
 1st Generation
.png) 2nd Generation
2nd Generation
- Install the pyrotechnic battery disconnect shunt insulator(s).
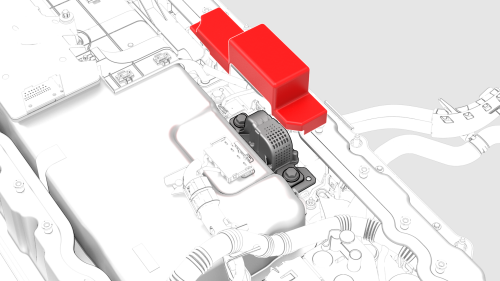
- Remove the penthouse service cover from the penthouse.
- Install the penthouse cover. See Cover - Penthouse (Remove and Replace).
READ NEXT:
 Shunt - HV Battery (Remove and Replace)
SPECIAL TOOLS
Ratchet, 1/4" Sq Dr, HV Insulated (1057602-00-A)
Ext Bar, Wobble, 1/4" Dr, HV Insulated (1057603-00-A)
Skt, 1/4" Sq Dr, 13mm, HV Insulated (1057606-00-A)
Resistance meter, microohm, Hi
SEE MORE:
Handle - Exterior Release - Door - Rear - LH (Adjust)
SPECIAL TOOLS
Gauge, Taper Step (1080552-00-A)
Procedure
Remove the LH rear door exterior release handle. See Handle - Exterior
Release - Door - Rear - LH (Remove and Replace).
Exercise the handle mechanism, pulling the handle to the maximum
position and releasing it, 5 times.
If the hand
Frame - Seat Back - 2nd Row - LH (Remove and Replace)
Remove
Remove the 2nd row lower seat cushion. See
Seat Cushion - Lower - 2nd Row (Remove and Replace).
Remove the LH 2nd row seat side bolster. See
Bolster - Side - Seat - 2nd Row - LH (Remove and Replace).
Remove the rear LH sill panel trim. See
Trim - Sill Panel - Rear - LH (Remove and R
© 2019-2024 Copyright www.tmodel3.com
