Tesla Model 3: Receiver Dryer and Desiccant- Remove
Tesla Model 3 2017-2024 Service Manual / Thermal Management / Refrigerant System / Receiver Dryer and Desiccant (Remove and Replace) / Receiver Dryer and Desiccant- Remove
SPECIAL TOOLS
Remove
- Perform the A/C refrigerant recovery. See A/C Refrigerant (Recovery and Recharge).
.png)
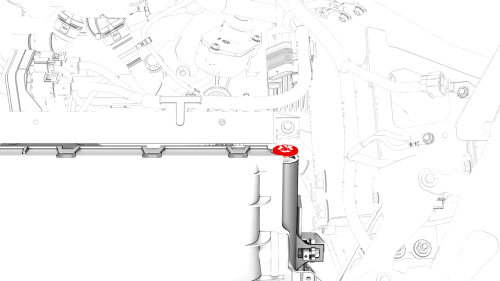
- Remove the bolts (x2) that attach the underhood reinforcement bracket to the body, and then remove the bracket from the cooling fan module.
- Remove the cap from the LH side of the condenser.
- Use an 11 mm socket to slightly depress the inner cap in the condenser for snap ring removal.
- Remove the snap ring from the condenser.
- Thread an M8 x 1.25mm bolt into the inner cap, and use the bolt to pull out the inner cap.
- Remove the desiccant bag from the condenser.
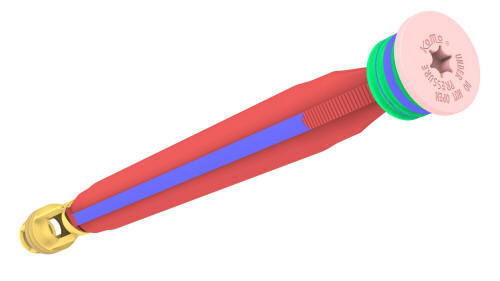
- Use the desiccant filter removal tool with a slide hammer to remove the desiccant filter screen.
READ NEXT:
 Receiver Dryer and Desiccant- Install
Install
Use 3/8 inch extensions to press the new desiccant filter into the
condenser. Lightly tap with a hammer to fully seat the filter.
Insert a new desiccant bag into the condenser.
Install t
TXV Valve - Evaporator- Remove
Remove
Disconnect 12V power. See 12V Power (Disconnect and Connect).
Remove the underhood storage unit. See Underhood Storage Unit (Remove
and Replace).
Recover the A/C refrigerant. See A/C Re
SEE MORE:
Carpet - Side Panel - Center Console - LH (Remove and Replace)
Remove
Note: Although the LH side is described, the procedure is the same
for the RH side.
Move the front LH front seat fully rearward.
Remove the front LH floormat from the vehicle.
Release the clips and tabs that attach the center console side panel
carpet to the center console, and
Decor Trim - Instrument Panel - Main (Remove and Replace)
Remove
Remove both the LH and RH air wave end caps. See
End Cap - Air Wave - LH (Remove and Replace).
Release the clips that attach the main instrument panel decor trim, and
then remove the trim from the instrument panel.
Install
Installation procedure is the reverse of removal, exc
© 2019-2024 Copyright www.tmodel3.com
