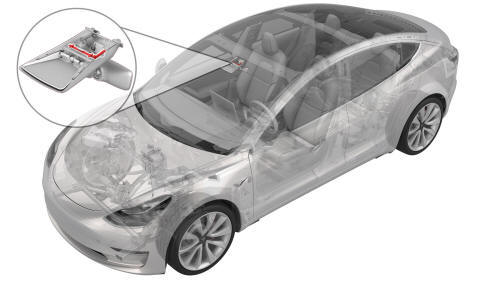
Tesla Model 3: Sensor - Relative Humidity and Temperature (Remove and Replace)
Remove
- Remove the lower quad camera cover. See Quad Camera Cover - Lower (Remove and Replace).
- Remove the rear view mirror. See Mirror - Rear View (Remove and Replace).
- Remove the forward facing camera. See Camera - Forward Facing (Remove and Replace).
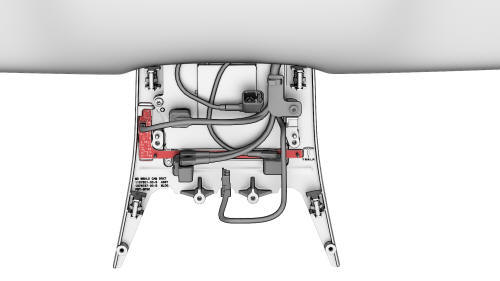
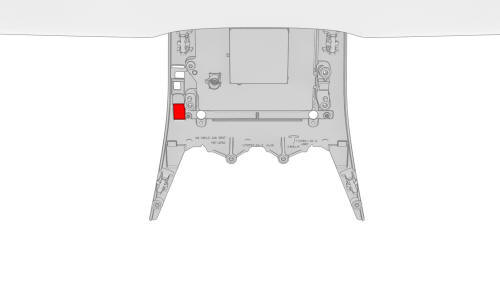
- Disconnect the electrical connector from the humidity and temperature sensor.
- Use a PH00 (Phillips #00) screwdriver to remove the screws (x2) that attach the humidity and temperature sensor to the windshield bracket.
Note: Use the correct screwdriver to remove the screws, otherwise it might strip the screw heads.
Note: The screws are tiny, make sure not to misplace them.
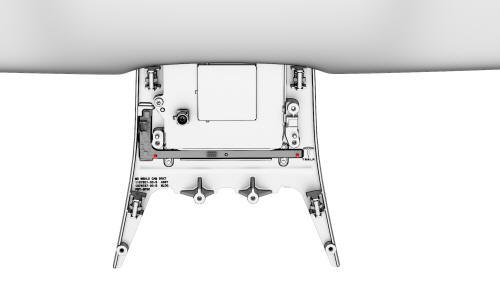
- Remove the relative humidity and temperature sensor from the windshield bracket.
Note: Angle the sensor circuit board up and over the plastic alignment pin, and then move the sensor circuit board upwards to clear the pin.
Install
- Clean the area where the foam pad of the humidity and temperature sensor circuit board contacts the windshield with an isopropyl alcohol (IPA) wipe, and then allow the area to dry before continuing.
Caution:
Make sure the windshield is completely dry before continuing, the foam pad will not stick if the windshield is wet.
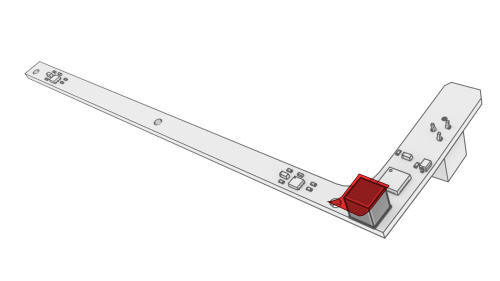
- Peel the tape from the new humidity and temperature sensor circuit board, and then install the circuit board on the windshield bracket.
Note: Slide the connector end of the circuit board under the tab on the windshield bracket, and then press the hole on the circuit board onto the alignment pin of the windshield bracket.
- Use a PH00 (Phillips #00) screwdriver to install the screws (x2) that
attach the humidity and temperature sensor to the windshield bracket.
.png) Torque 0.12 Nm
Torque 0.12 Nm
Caution:
Use a Wiha precision torque wrench or similar to fasten the screws to the windshield bracket. The screw threads in the bracket are very delicate and can strip out very easily.
- Connect the electrical connector to the humidity and temperature sensor.
- Connect a laptop with Toolbox to the vehicle.
- In Toolbox, type "VCFRONT" in the search field, click on "TEST-RESET_VCFRONT," and then select Run.
- Use Toolbox to update the vehicle firmware.
- Install the forward facing camera. See Camera - Forward Facing (Remove and Replace).
- In Toolbox, type "THS" in the search field, click on "RUN - TEST-SELF_VCRIGHT_X_THS," and then select Run.
- Install the rear view mirror. See Mirror - Rear View (Remove and Replace).
Note: Do not install the lower quad camera cover at this time.
- Calibrate the forward facing camera. See Camera - Forward Facing (Target Calibration).
- Install the lower quad camera cover. See Quad Camera Cover - Lower (Remove and Replace).
READ NEXT:
 Windshield (Remove and Install)
Windshield (Remove and Install)-Remove
Remove
Open all doors and lower all windows.
Open the hood.
Remove the rear underhood apron. See Underhood Apron - Rear (Remove and
Replace).
Remove th
SEE MORE:
Seal - Oil - Differential to
Halfshaft - Rear Drive Unit - LH
(Remove and Replace)
SPECIAL TOOLS
Adapter, Coolant Reservoir Pressure Test (1130942-00-B)
Install Tool, Output Seal, Model 3 (1131206-00-A)
Remove
Remove the LH rear drive unit halfshaft. See
Halfshaft - Rear Drive Unit - LH (Remove and Replace).
Use the special tool to remove the LH output seal from the re
Interior Storage and Electronics
Glovebox
To open the glovebox, touch Controls >
Glovebox on the bottom corner of the
touchscreen. The glovebox automatically
opens and its light turns on.
To close the glovebox, push it upward until it
clicks into its closed position.
Note: If you leave the glovebox open, its light
event
