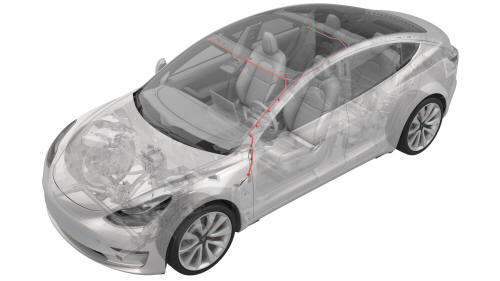
Tesla Model 3: Harness - Headliner (Remove and Replace)
Tesla Model 3 2017-2026 Service Manual / Electrical / Harnesses / Harness - Headliner (Remove and Replace)

Remove
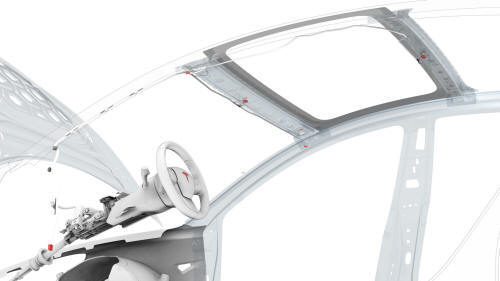
- Remove the headliner. See Headliner (Remove and Install).
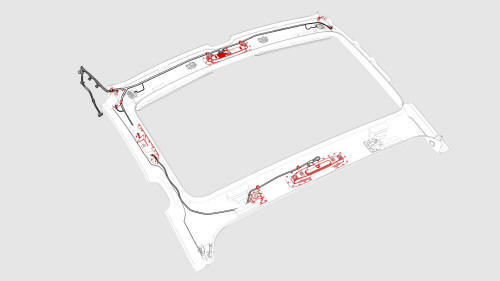
- Disconnect the electrical harness from the LH headliner tweeter connector.
- Disconnect the electrical harness from the front overhead console connector.
- Disconnect the electrical harness from the RH headliner tweeter connector.
- Disconnect the electrical harness from the rear overhead console connector.
- Separate the glue attaching points (x6) that attach the headliner harness to the headliner.

- Release the clips that attach the headliner harness to the headliner,
and then remove the harness from the headliner.

Install
Installation procedure is the reverse of removal, except for the following:
Use a glue gun to attach the headliner harness to the headliner. Allow time for the glue to set.
READ NEXT:
 Harness - Instrument Panel (Remove and Replace)
Remove
Remove the rear underhood apron. See Underhood Apron - Rear (Remove and
Replace).
Remove the cabin intake duct. See Duct - Cabin Intake (Remove and
Replace).
Remove the hood latch cov
 Harness - Main Front (Remove and Replace)
Harness - Main Front- Remove
Remove
Open the front LH and front RH doors
Open the hood.
Place wheel chocks on both rear wheels.
Put vehicle in Neutral.
Disconnect 12V power. See 12V Power (Dis
SEE MORE:
 Fascia - Front (Remove and Replace)
Fascia - Front (Remove)
Remove
Remove the front license plate bracket.
Remove the front fascia.
Disconnect the electrical harness from the RH front turn signal/fog
light connector.
Release the clips that attach the electrical harness to the front turn
signal/fog light.
Remove
 Harness - 12V Battery Positive (Remove and Replace)
Harness - 12V Battery Positive- Remove
Remove
Remove the cowl screen panel. See
Panel - Cowl Screen (Remove and Replace).
Remove the 12V auxiliary battery. See
Battery - 12V (Remove and Replace).
Remove the 12V battery bracket. See
Bracket - 12V Battery (RWD) (Remove and Replace).
Remo
© 2019-2026 Copyright www.tmodel3.com

