
Tesla Model 3: Sensor - Temperature - LH (Remove and Replace)
Tesla Model 3 2017-2026 Service Manual / Thermal Management / Cabin HVAC / Sensor - Temperature - LH (Remove and Replace)
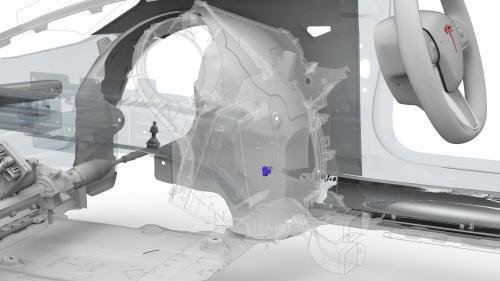
Remove
- Remove the driver floormat.
- Remove the center console LH side carpet. See Carpet - Side Panel - Center Console - LH (Remove and Replace).
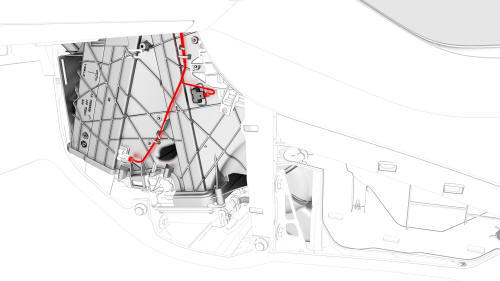
- Disconnect the LH temperature sensor electrical connector.
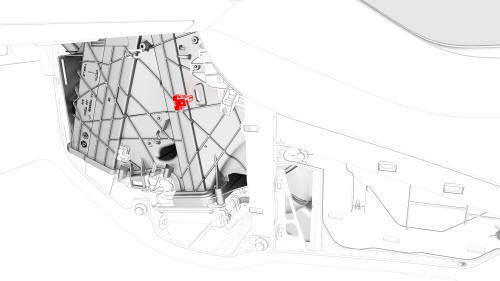
- Release the tabs that attach the LH temperature sensor inside the HVAC assembly, and then remove the LH temperature sensor from the HVAC assembly.
Note: Use a plastic trim tool to release the tabs, and then pull
the LH temperature sensor straight out to remove it from the HVAC assembly.
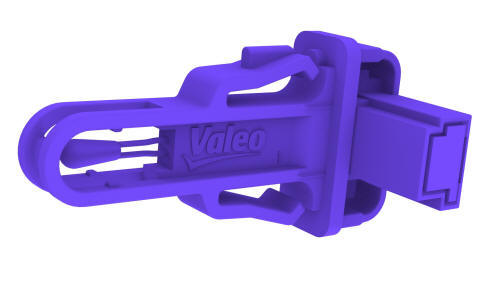
Install
- Install the LH temperature sensor onto the HVAC assembly, and then secure the sensor with 2 tabs.
- Connect the LH temperature sensor electrical connector.
- Install the center console LH side carpet. See Carpet - Side Panel - Center Console - LH (Remove and Replace).
- Install the driver floormat.
READ NEXT:
 Sensor - Temperature - RH (Remove and Replace)
Remove
Remove the RH center console side panel carpet. See
Carpet - Side Panel - Center Console - LH (Remove and Replace).
Disconnect the electrical wiring harness conector from the RH
tem
A/C Refrigerant Leak Detection
SPECIAL TOOLS
Tool, Flashlight, UV (1053591-00-A)
UV Leak Detection Kit (1080563-01-A)
Procedure
Remove the rear underhood apron. See
Underhood Apron - Rear (Remove and Replace).
Remove the cabi
SEE MORE:
Maps and Navigation
Overview
The touchscreen displays a map at all times.
To move the map in any direction, hold and
drag a finger. To rotate the map in any
direction, hold and turn two fingers.
To set the map's orientation, touch the icon in
the top right corner of the map:
North Up - North is always at
Applique - B-Pillar - LH (Remove and Replace)
Applique - B-Pillar - LH (Remove and Replace) -
Remove
Remove
Open the LH front and rear doors.
Release the clips that attach the B-pillar applique fastener cover to
the vehicle, and then remove the cover.
Remove the bolts that attach the B-pillar applique to the body, but do
© 2019-2026 Copyright www.tmodel3.com
