Tesla Model 3: Trunk (Remove and Install) - Install
Tesla Model 3 2017-2024 Service Manual / Body / Body Panels / Trunk (Remove and Install) / Trunk (Remove and Install) - Install
Install
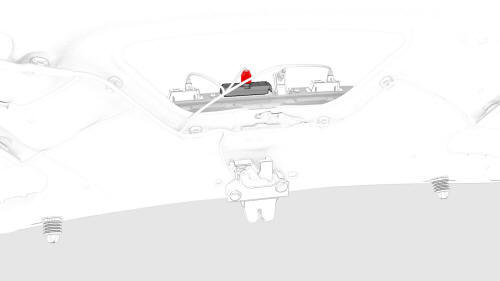
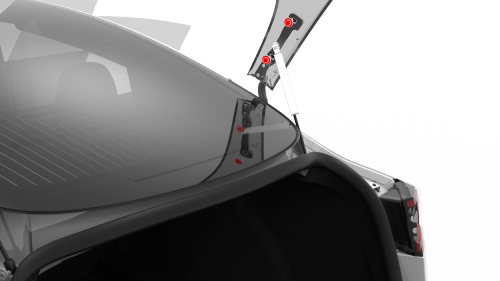
- With an assistant, position and align the trunk lid to the trunk hinges, and then hand-tighten the bolts that attach the hinges to the trunk lid.
- Push the trunk harness through the trunk bulkhead.
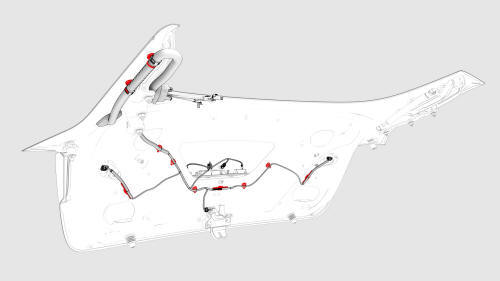
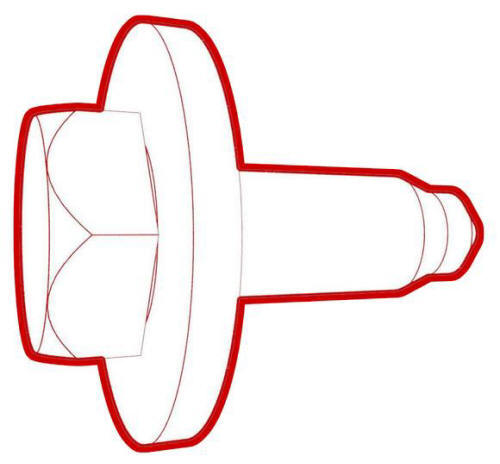
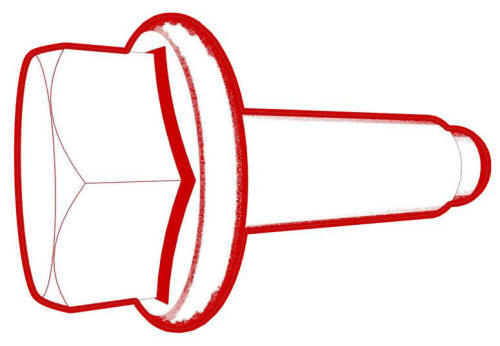
- Install the clips that attach the trunk harness to the trunk lid.
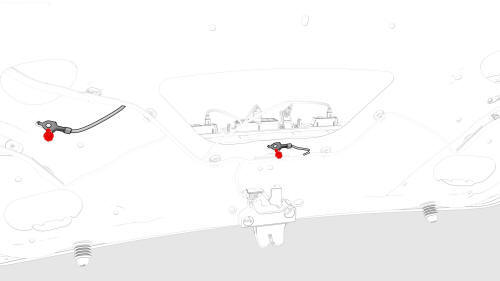
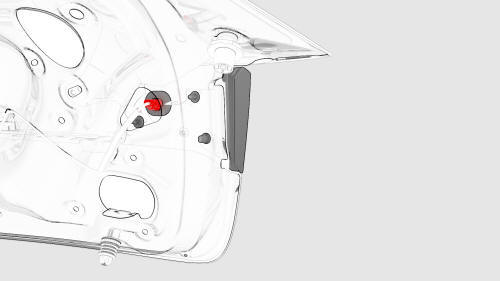
- Install new bolts (x2) to attach the trunk harness ground straps to the
trunk lid.
 Torque 8 Nm
LH shown, RH similar
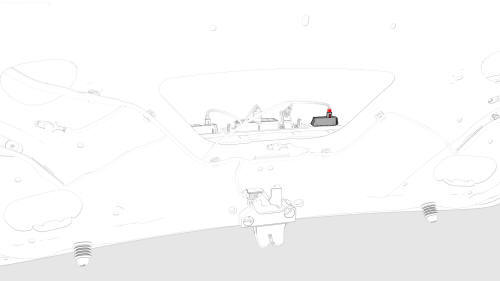
- Connect the trunk latch electrical connector.
- Connect the LH and RH license plate light electrical connectors.
- Connect the trunk exterior release switch electrical connector.
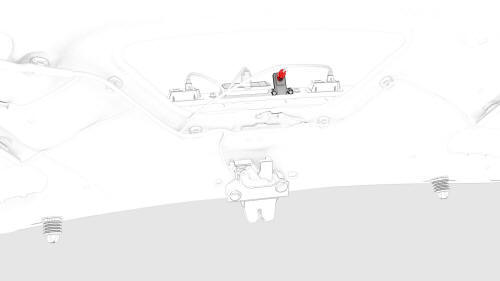
- Connect the rear facing camera electrical connector.
- Connect the LH and RH rear fog/reverse light electrical connectors.
- With an assistant, perform the gap and flush measurement of the trunk assembly.
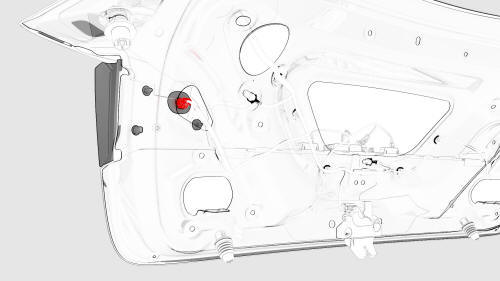
RH shown, LH similar
- Tighten the bolts that attach the hinges to the trunk lid.
 Torque 24 Nm
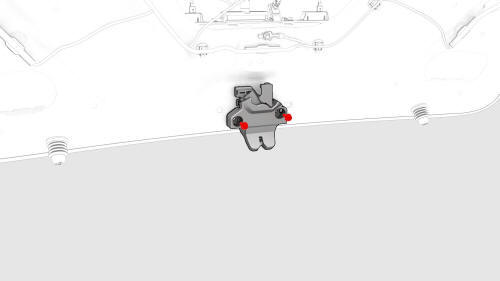
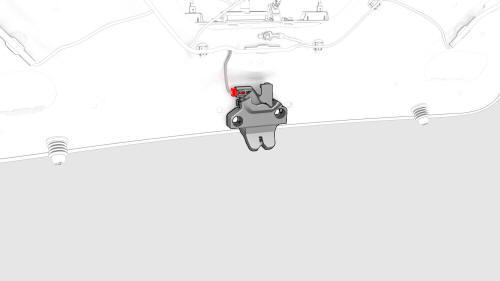
- Tighten the bolts that attach the trunk latch to the trunk lid.
 Torque 8 Nm
 - Install the trunk lid trim. See Trim - Lid - Trunk (Remove and Replace).
- Clean the marks of the dry erase marker from the hinges.
READ NEXT:
 Trunk (Remove and Replace)- Remove
Remove the rear license plate.
Remove the trunk lid trim. See Trim - Lid - Trunk (Remove and Replace).
Remove the LH and RH rear fog/reverse lights. See Light - Fog / Reverse
- Rear - LH (Rem
Trunk (Remove and Replace)- Install
Install
LH
RH
With assistance, install the trunk to the trunk hinges, and then install
the bolts that attach the trunk lid to the trunk hinges.
Caution:
Install the bolts closest to the bod
SEE MORE:
Harness - Thermal Beam- Remove
Remove the underhood storage unit. See Underhood Storage Unit (Remove
and Replace).
Disconnect 12V power. See 12V Power (Disconnect and Connect).
Release the clips that attach the HVAC plenum outer duct to the HVAC
plenum inner duct, and then remove the outer duct.
Remove the bolt t
Charging equipment faultTry
different charging
equipment(CP_a004)
The charge port is unable to detect whether a
charge cable is inserted or the type of charge
cable connected.
If this alert appears while a charge cable is
connected, it should be determined whether
the issue is caused by the charging equipment
or the vehicle. Try charging the vehicle using
© 2019-2024 Copyright www.tmodel3.com
