Tesla Model 3: TXV Valve - Evaporator - Install
Tesla Model 3 2017-2024 Service Manual / Thermal Management / Refrigerant System / TXV Valve - Evaporator (Remove and Replace) / TXV Valve - Evaporator - Install
Install
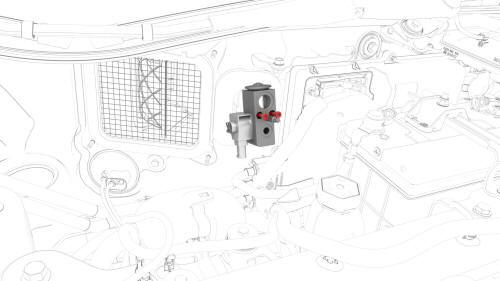
- Install new o-rings (x2) onto the HVAC module.
- Install the TXV valve onto the HVAC module, and then install the bolts
that attach the TXV valve to the HVAC module.
 Torque 7.2 Nm
 - Install new o-rings (x2) onto the suction/liquid lines fitting.
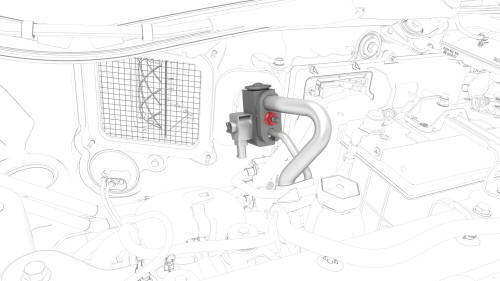
- Install the suction/liquid lines fitting into the TXV valve, and then
install the nut that attaches the suction/liquid lines fitting to the TXV
valve.
 Torque 22 Nm
 - Perform the A/C refrigerant recharge concurrently with the remainder of this procedure. See A/C Refrigerant (Recovery and Recharge).
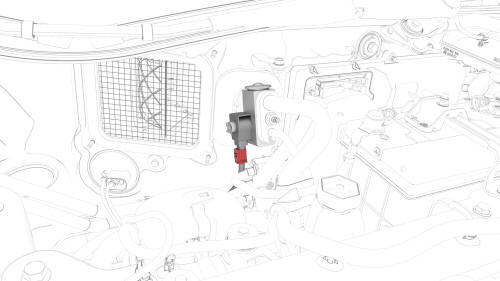
- Connect the electrical harness to the TXV valve connector.
.png)
- Fasten the clip that attaches the suction/liquid lines to the electrical harness near the TXV.
.jpg)
- Install the positive harness onto the battery, and tighten the nut that
attaches the positive harness to the battery.
.jpg) Torque 6 Nm
Torque 6 Nm - Install the cover for the 12V positive terminal.
- Install the inner HVAC plenum duct. See Duct - HVAC Plenum - Inner (Remove and Replace).
- Connect 12V power. See 12V Power (Disconnect and Connect).
Note: Do not install the rear apron at this time.
- After the A/C refrigerant recharge has fully completed, verify the operation of the A/C system.
- Connect a charging cable to the vehicle.
- Use Toolbox to perform a Thermal System Performance Test.
- After successful completion of the test, disconnect the charging cable.
- Install the underhood storage unit. See Underhood Storage Unit (Remove and Replace).
READ NEXT:
 5-Way Valve- Remove
SPECIAL TOOLS
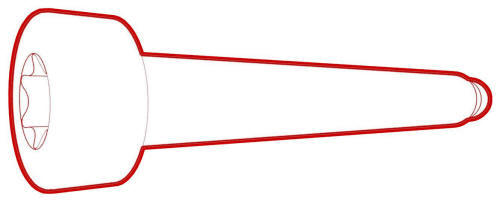
Wrench, Diverter Valve, Model 3 (1447556-00-A)
Remove
Remove the 5-way valve actuator. See Actuator - 5-Way Valve (RWD)
(Remove and Replace).
Release the clip that attaches th
SEE MORE:
Brake Hose - Flexible - Front - LH (Remove and Replace)
SPECIAL TOOLS
Flare nut crowfoot set (1079041-00-A)
Remove
Caution:
Brake fluid dissolves paint. Have clean towels and plenty of
water standing by
Speaker - Emergency (Remove and Replace)
Remove
Remove the RH footwell cover. See Cover - Footwell - Passenger (LHD) (Remove
and Replace).
Disconnect the electrical connector for the emergency speaker.
Release the screws that attach the emergency speaker to the RH footwell
cover, and then remove the emergency speaker.
© 2019-2024 Copyright www.tmodel3.com
