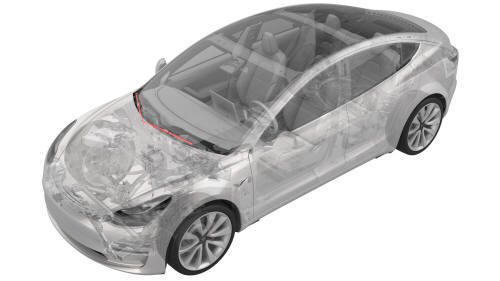
Tesla Model 3: Wiper Blades (Remove and Replace)
Tesla Model 3 2017-2026 Service Manual / Electrical / Wipers and Washers / Wiper Blades (Remove and Replace)
Note: This procedure was formulated using a release candidate or production model. Follow safety requirements and use extreme caution when working on or near high-voltage systems and components.
Remove
- Use the center display to put the wipers in "Service Mode."
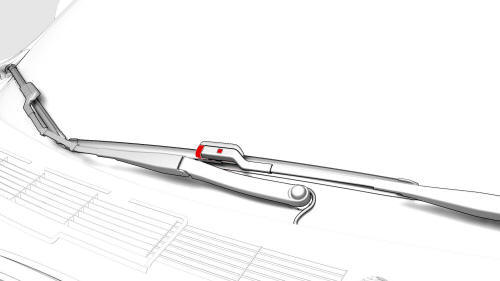
- Release the tab that attaches the LH wiper blade to the LH wiper arm, and then remove the LH wiper blade from the vehicle
Note: Place a towel or shop rag underneath the wiper arm to prevent scratches on the windshield
- Release the tab that attaches the RH wiper blade to the RH wiper arm, and then remove the RH wiper blade from the vehicle.
Note: Place a towel or shop rag underneath the wiper arm to prevent scratches on the windshield
Install
Installation procedure is the reverse of removal.
READ NEXT:
 Horn - High Tone (Remove and Replace)
Remove
Remove the rear underhood apron. See
Underhood Apron - Rear (Remove and Replace).
Remove the cabin intake duct. See
Duct - Cabin Intake (Remove and Replace).
Remove the hood latch cover
Horn - Low Tone (Remove and Replace)
Remove
Remove the front fascia. See
Remove.
Disconnect the harness from the low tone horn connector.
North America
Remove the bolt that attaches the horn to the carrier, and remove th
SEE MORE:
Headlights - Adjust - NA (Tool Method)
Adjust Headlights Using a Headlight Tester
Park the vehicle on a level surface.
Make sure that all 4 tires are inflated to specification.
Open the front trunk hood.
On the touchscreen, enter headlight adjustment mode: Controls > Service
> Adjust Headlights.
Turn on the headlights.
Cover - Rear Suspension - LH (Remove and Replace)
Remove
Remove the bolt that attaches the rear suspension cover to the LH lower
rear control arm assembly.
Torque 6 Nm
Release the tabs (x2) that attach the rear suspension cover to the LH
lower rear control arm assembly, and then remove the rear suspension cover
from the vehicle.
I
© 2019-2026 Copyright www.tmodel3.com
