Tesla Model 3: Accelerator Pedal
Tesla Model 3 2017-2026 Service Manual / Electrical / Accelerator Pedal
Accelerator (Remove and Replace)

Remove
- Remove the 2nd row lower seat cushion. See Seat Cushion - Lower - 2nd Row (Remove and Replace).
- Remove the rear underhood apron. See Underhood Apron - Rear (Remove and Replace).
- Disconnect 12V power. See 12V Power (Disconnect and Connect).
- Remove the driver knee airbag. See Airbag - Knee - Driver (Remove and Replace).
- Remove the LH footwell duct. See Duct - Footwell - LH (Remove and Replace).
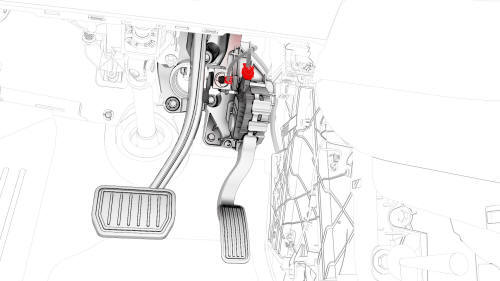
- Disconnect the electrical connector from the accelerator.
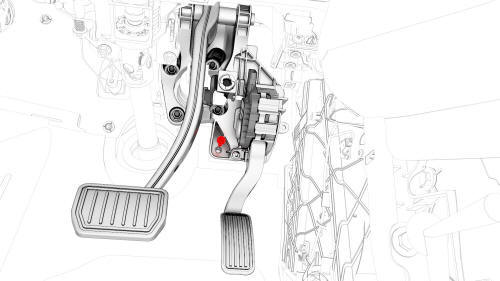
- Remove the bolt that attaches the accelerator to the body.
- Slide the accelerator downwards, and then remove the accelerator from the vehicle.
Install
- Slide the accelerator up, and then install the accelerator into the bracket.
- Install the bolt that attaches the accelerator to the body.
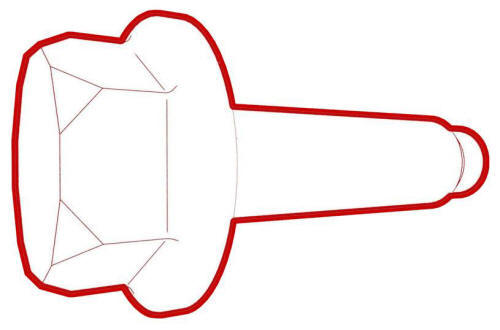 Torque 7 Nm
 - Connect the accelerator electrical connector.
- Install the LH footwell duct. See Duct - Footwell - LH (Remove and Replace).
- Install the driver knee airbag. See Airbag - Knee - Driver (Remove and Replace).
- Reconnect 12V power. See 12V Power (Disconnect and Connect).
- Connect a laptop with Toolbox to the vehicle.
- Use Toolbox to perform the accelerator pedal test.
- Install the rear underhood apron. See Underhood Apron - Rear (Remove and Replace).
- Install the 2nd row lower seat cushion. See Seat Cushion - Lower - 2nd Row (Remove and Replace).
READ NEXT:
 Actuator - Bleed - LH (Remove and Replace)
Remove
Remove the cross car beam. See
Beam - Cross Car (Remove and Replace).
Disconnect the electrical wiring harness connector from the LH bleed
actuator.
Remove the bolts that attac
SEE MORE:
Breather - Front Drive Unit (Remove and Replace)
Remove
Remove the front subframe assembly. See
Subframe Assembly - Front (Dual Motor) (Remove and Install).
Remove the front drive unit breather.
Torque 5 Nm
Install
Installation procedure is the reverse of removal.
Hub - Front - LH (Dual Motor) (Remove and Replace)
Hub - Front - LH (Dual Motor) - Remove
SPECIAL TOOLS
Card, Magnetic Field Viewer (1062500-00-A)
Remove
If equipped, remove the LH front wheel center cap. See
Cap - Wheel (Remove and Replace).
Loosen the LH front wheel lug nuts.
Caution:
Use only hand tools to remove or install the fasteners.
© 2019-2026 Copyright www.tmodel3.com
