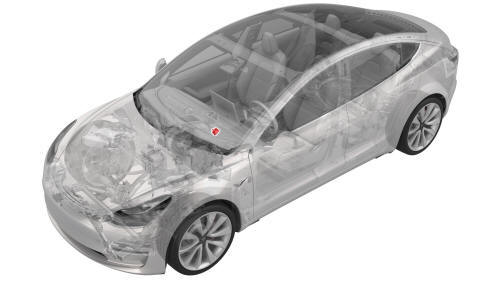
Tesla Model 3: Actuator - Bleed - LH (Remove and Replace)
Tesla Model 3 2017-2026 Service Manual / Thermal Management / Cabin HVAC / Actuator - Bleed - LH (Remove and Replace)
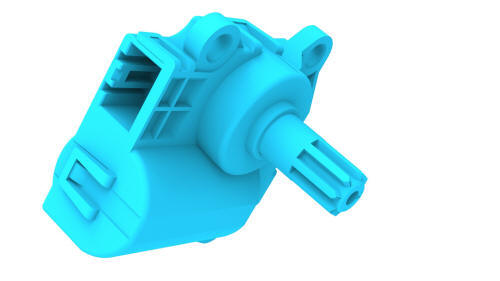
Remove
- Remove the cross car beam. See Beam - Cross Car (Remove and Replace).
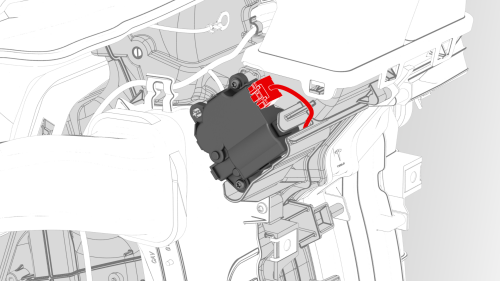
- Disconnect the electrical wiring harness connector from the LH bleed actuator.
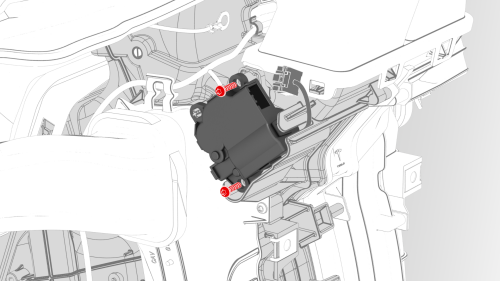
- Remove the bolts that attach the actuator to the HVAC module, and then
remove the actuator from the module.
 Torque 2.3 Nm
Install
Installation procedure is the reverse of removal.
READ NEXT:
 Actuator - Intake (Remove and Replace)
Remove
Remove the HVAC assembly. See
HVAC Assembly (Remove and Replace).
Disconnect the electrical harness from the intake actuator connector.
Remove the screws (x2) that attach the int
Actuator - Lower Mode (Remove and Replace)
Remove
Remove the HVAC assembly. See
HVAC Assembly (Remove and Replace).
Disconnect the lower mode actuator electrical connector.
Remove the screws that attach the lower mode actuator t
Actuator - Upper Mode (Remove and Replace)
Actuator - Upper Mode- Remove
Remove
Remove the 2nd lower seat cushion. See
Seat Cushion - Lower - 2nd Row (Remove and Replace).
Remove the rear underhood apron. See
Underhood Apron - Rear (Rem
SEE MORE:
Harness - Thermal Beam (Remove and Replace)
Harness - Thermal Beam- Remove
Remove the underhood storage unit. See Underhood Storage Unit (Remove
and Replace).
Disconnect 12V power. See 12V Power (Disconnect and Connect).
Release the clips that attach the HVAC plenum outer duct to the HVAC
plenum inner duct, and then remove the out
Crush Can - Front - LH (Remove and Replace)
Crush Can - Front - LH - Remove
Remove
Raise and support the vehicle
Remove the rear underhood apron.
Remove the cabin intake duct
Remove the hood latch cover.
Remove the underhood storage unit.
Remove the front fascia assembly
Disconnect the electrical harness from the LH front airba
© 2019-2026 Copyright www.tmodel3.com
