Tesla Model 3: Sensor - Radar - Front (Remove and Replace)
Tesla Model 3 2017-2026 Service Manual / Electrical / Radar Sensors / Sensor - Radar - Front (Remove and Replace)
Remove
- Remove the front fascia. See Fascia - Front (Remove and Install).

- Release the clip that attaches the front radar sensor wiring harness to the front end carrier.
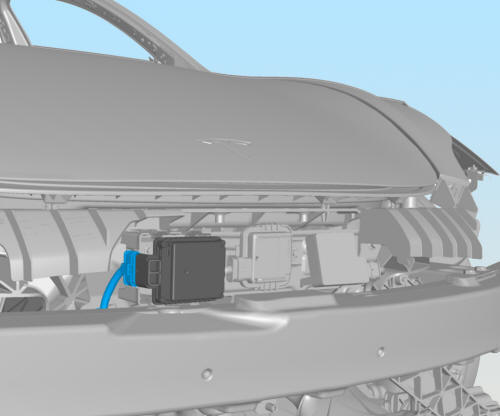
- Disconnect the electrical harness connector from the radar sensor.
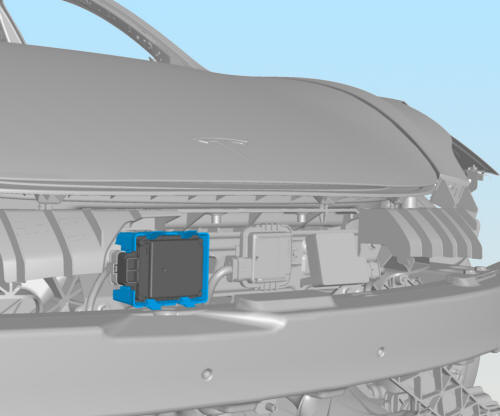
- Release the clips that attach the radar sensor to the front radar sensor
bracket, and then remove the sensor from the vehicle.
Install
- Install the front radar sensor into the bracket.
- Connect the front radar sensor electrical connector.
- Connect the front radar sensor wiring harness to the front end carrier clip.
- Install the front fascia. See Fascia - Front (Remove and Install)
- Update the vehicle firmware using a laptop connected to Garage.
- Perform a four wheel alignment check procedure. See Four Wheel Alignment (Check).
- Perform the front radar sensor calibration procedure. See Sensor - Radar - Front (Calibration).
READ NEXT:
 Forward Facing (Remove and Replace)
Remove
Remove the rear view mirror. See Mirror - Rear View (Remove and Replace).
Release the clips that attach the mirror front cover to the windshield
bracket, and then separate the cover
Forward Facing (Target Calibration)
SPECIAL TOOLS
Camera Calibration Target (1053066-00-A)
Wrench, 2.5mm, Thin (1448868-00-A)
Note: This procedure describes how to calibrate the forward
facing cameras. It does not apply to the rear f
SEE MORE:
Security Settings
About the Security System
If Model 3 does not detect an authenticated
phone, key fob, or key card and a locked door
or trunk is opened, an alarm sounds and the
headlights and turn signals flash. To deactivate
the alarm, press any button on the mobile app
or tap your key card or key fob against
Module - Body Controller - Security (Remove and Replace)
Module - Body Controller - Security- Remove
Remove
Open all doors and lower all windows
Remove the 2nd row lower seat cushion. See
Seat Cushion - Lower - 2nd Row (Remove and Replace).
Move the driver seat and front passenger seat fully rearward.
Disconnect 12V power. See
12V Power (Disconne
© 2019-2026 Copyright www.tmodel3.com
