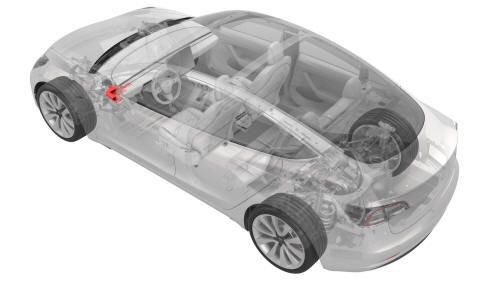
Tesla Model 3: Cover - Footwell - Driver (Remove and Replace)
Tesla Model 3 2017-2026 Service Manual / Instrument Panel / Cover - Footwell - Driver (Remove and Replace)
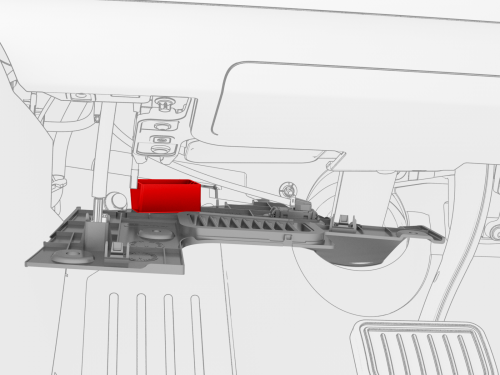
Remove
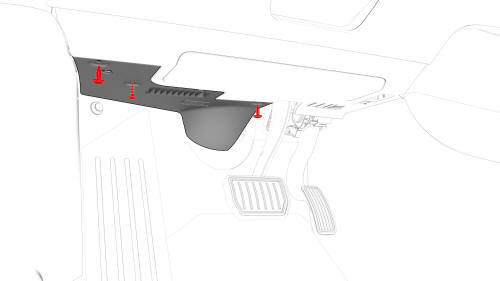
- Release the clips and remove the screw that attach the driver footwell
cover to the vehicle.
 Torque
2.5 Nm
Torque
2.5 Nm
- Disconnect the electrical connector from the puddle light, and then disconnect the diagnostic cable from the driver footwell cover.
- APAC vehicles only: Disconnect the OBD-II connector from the driver footwell cover.

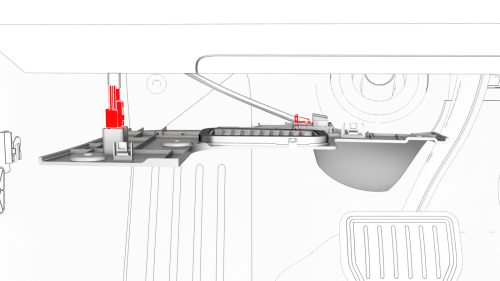
-
Release the tabs that attach the driver footwell cover to the vehicle, and then remove the footwell cover from the vehicle.
Install
- Reconnect the diagnostic cable to the driver footwell cover, and then reconnect the electrical connector to the puddle light.
- APAC vehicles only: Reconnect the OBD-II connector to the driver footwell cover.
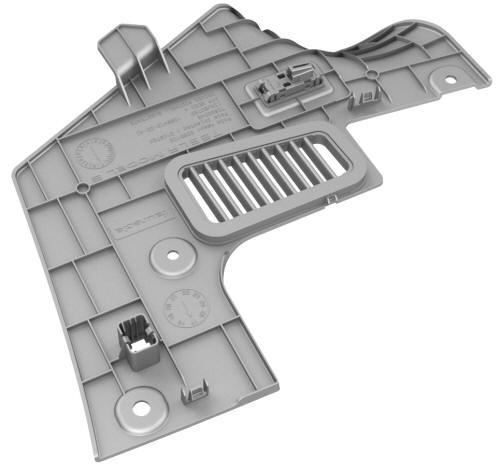
- Position the footwell cover for installation by securing the front tabs
(x3) to the driver side knee air bag assembly, and then install the clips
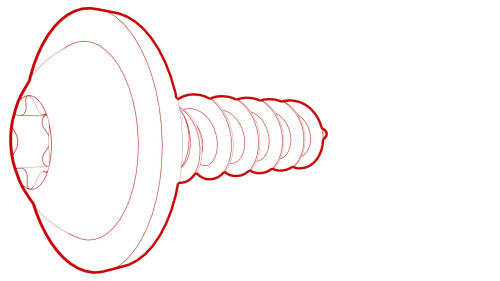
(x2) and the screw (x1) that attach the driver footwell cover to the vehicle.
(Non-North American vehicles do not have knee airbags, so the driver
footwell cover is secured by one clip and two T20 screws.)
Torque 2.5 Nm
READ NEXT:
 Cover - Footwell - Passenger (LHD) (Remove and Replace)
Remove
Release the clips that attach the passenger footwell cover to the
vehicle.
Disconnect the electrical wiring harness connectors from the puddle
light and emergency speaker.
Damper - Glove Box (Remove and Replace)
Remove
Remove the glove box. See
Glove Box (LHD) (Remove and Replace).
Remove the pin that attach the glove box damper to the glove box using
needle nose pliers.
Fully open the glove bo
Decor Trim - Instrument Panel - Main (Remove and Replace)
Remove
Remove both the LH and RH air wave end caps. See
End Cap - Air Wave - LH (Remove and Replace).
Release the clips that attach the main instrument panel decor trim, and
then remove
SEE MORE:
Trim - Side Rail - LH (Remove and Install)
Remove
Open the LH rear door.
Release the push clips (x2) that attach the LH side rail trim to the LH
side rail.
Tip:
Release the top clip first (closest to the coat hanger) and work towards the
trunk.
Release the side rail trim tethers (x2) from the side rail trim one at a
t
Hose - Return - Powertrain (Remove and Replace)
Remove
Remove the HV battery. See HV Battery (RWD) (Remove and Install).
Release the clips (x5) that attach the powertrain return (lower) hose to
the RH side of the HV battery, and remove the hose from the HV battery.
Remove the plugs from the powertrain return hose, if installed.
Install
© 2019-2026 Copyright www.tmodel3.com
