Tesla Model 3: Door Assembly - Charge Port (China) - Install
Tesla Model 3 2017-2024 Service Manual / High Voltage System / Charge System Inlet / Door Assembly - Charge Port (China) (Remove and Replace) / Door Assembly - Charge Port (China) - Install
Install
- Install the charge port door assembly on the vehicle: Pivot the assembly so that the actuator mechanism clears underneath the quarter panel, and then slide the assembly forward towards the rear door. Note: Manipulation of the charge port door assembly might be necessary to fully align the assembly to the rear quarter,
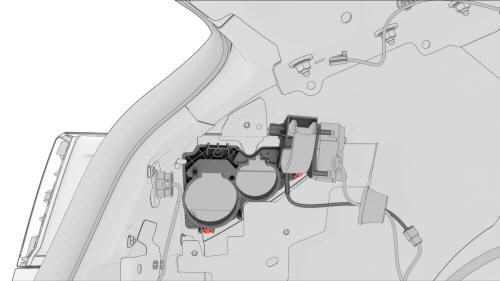
- Push the charge port door assembly electrical harness through the opening, and then attach the charge port door assembly with lower clips (x2).
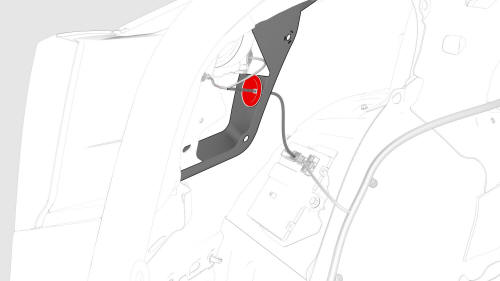
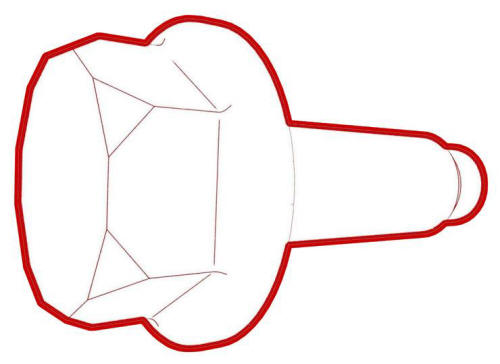
- Install the charge port door grommet on the body
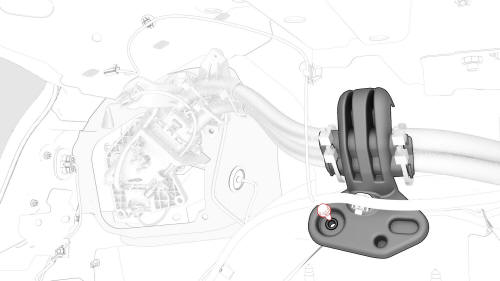
- Move the charge port assembly into position for installation.
- Install the bolts that attach the charge port
assembly to the charge port door assembly.
 Torque 6 Nm
- Insert the manual release cable back into the locking tab; push down on the release back to secure it into the locking tab.
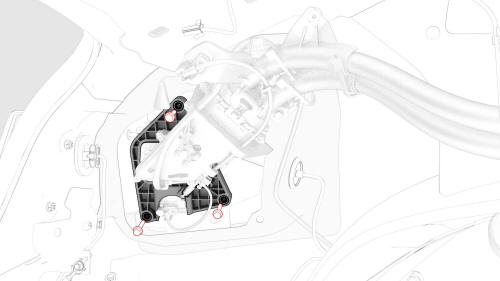
- Install the bolt that attaches the charge port
harness bracket to the body.
 Torque 6 Nm
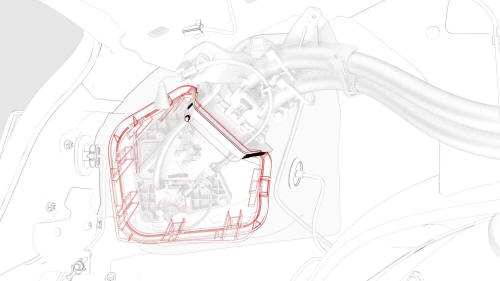
- Install the clips that attach the charge port closeout panel.
- Install the edge clip that attaches the HV harness to the charge port closeout panel.
.jpg)
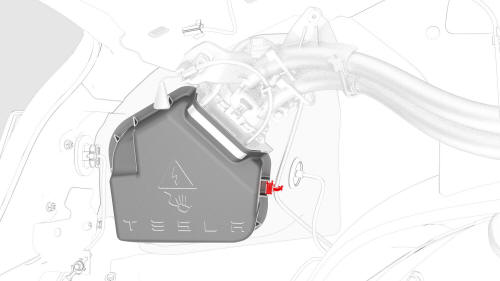
- Connect the low voltage charge port ECU electrical connectors.
- Install the LH taillight. See Taillight - LH (Remove and Replace).
.jpg)
- Install the LH trunk stop.
- Install the LH trunk side trim. See Trim - Side - Trunk - LH (Remove and Replace).
- Install the trunk garnish. See Garnish - Trunk (Remove and Replace).
- Install the trunk sill trim panel. See Trim - Sill - Trunk (Remove and Replace).
- Install the trunk floor trim. See Trim - Floor - Trunk (Remove and Replace).
- Close the trunk.
- Install the LH 2nd row seat back. See Seat Back - 2nd Row - LH (Remove and Install).
- Install the LH 2nd row seat side bolster. See Bolster - Side - Seat - 2nd Row - LH (Remove and Replace).
- Reconnect 12V power. See 12V Power (Disconnect and Connect).
- Install the 2nd row lower seat cushion. See Seat Cushion - Lower - 2nd Row (Remove and Replace).
- Move the driver and front passenger seats back to their original position.
- Remove the masking tape from the charge port door area.
- Connect a laptop with Toolbox to the vehicle.
- In Toolbox, type "TEST-SELF_CP" in the search tab. Note: Make sure that "Actions" is selected, if not already.
- In Toolbox, click the play button next to "TEST-SELF_ CP_X_CONNECTIVITY", and then click "Run".
- In Toolbox, click the play button next to "TEST-SELF_ CP_X_UHF", and then click "Run". Note: Once the test routine is started, there is a 5 second window to transmit the UHF signal to make the test pass. Press the button on the charge cable to transmit the signal.
- In Toolbox, click the play button next to "TEST-SELF_CP_X_DOOR_PERFORMANCE", and then click "Run".
- Disconnect the laptop from the vehicle.
- Verify for proper operation of the charge port. Use the customer's UMC, if available.
- Install the rear underhood apron. See Underhood Apron - Rear (Remove and Replace).
- Close the hood and all doors.
READ NEXT:
 ECU - Charge Port (Remove and Replace)
Remove
Open the trunk.
Remove the LH trunk side
trim. See
Trim - Side - Trunk - LH
(Remove and
Latch Actuator - Charge Port - Remove
Remove
Perform the vehicle electrical isolation procedure.
See Vehicle Electrical Isolation Procedure.
Remove the LH trunk side t
SEE MORE:
Brake Lines - Master Cylinder to ABS - Remove
SPECIAL TOOLS
Flare nut crowfoot set (1079041-00-A)
Remove
Caution: Brake fluid dissolves paint. Have clean towels and plenty of
water standing by to
Link - Fore - Upper - Rear - LH (Remove and Replace)
SPECIAL TOOLS
Tool, Spring Compressor, Hook, Model 3 (1135103-00-A)
Remove
Remove the rear subframe assembly. See
Subframe Assembly - Rear (Remove and Install).
Remove the bolt and nut that attach the LH rear upper fore link to the
knuckle.
With an assistant, remove the bolt and nut
© 2019-2024 Copyright www.tmodel3.com
