Tesla Model 3: Door - Rear - LH (Install)
Tesla Model 3 2017-2024 Service Manual / Body / Body Panels / Door - Rear - LH (Remove and Install) / Door - Rear - LH (Install)
- Make sure that the upper bolt for each door hinge is installed, and the bolt head extends approximately 10 mm from flush.
- With assistance, lower the rear LH door onto the door hinges, and engage the upper bolts into the hinges.

- Install the lower bolt of each hinge into the door and hand-tighten all bolts.
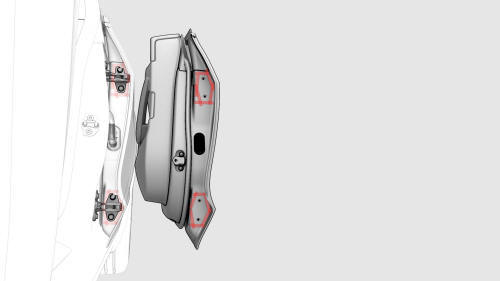
- Position the door so that the hinges line up with the dry-erase marker lines or the marking tape.
- Tighten the hinge bolts.
 Torque 24 Nm
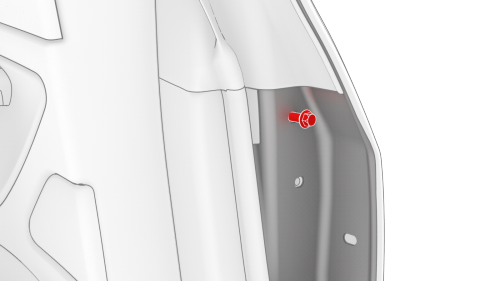
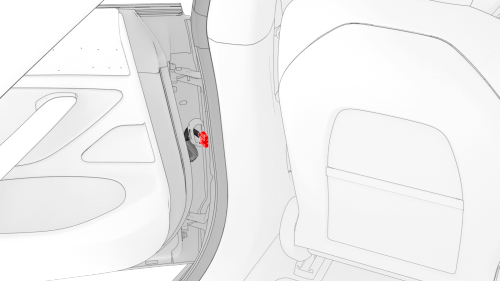
- Install the bolt that attaches the door check to the B-pillar.
 Torque 24 Nm
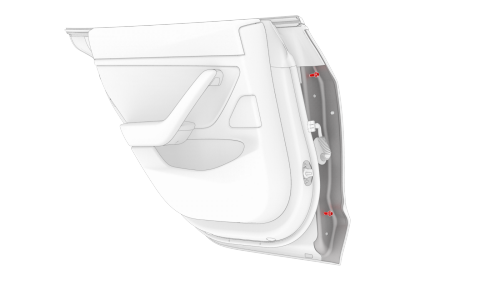
- Connect the rear LH door wiring harness and press the harness against the inside of the rear LH door.
- Open the front LH door and close the rear LH door.
.jpg)
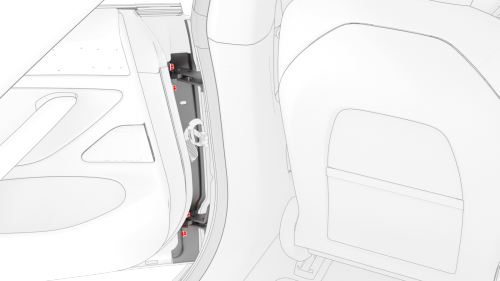
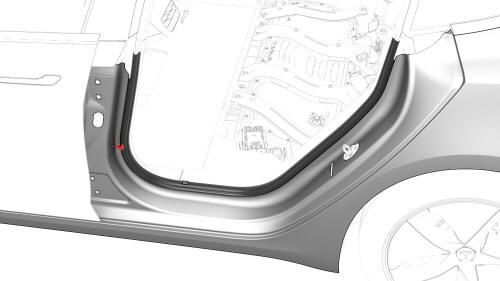
- Move the rear LH door electrical harness connector into the hole in the B-pillar, press the rear LH door wiring harness seal into the B-pillar, and fasten the clips (x4) that attach the seal to the B-pillar bulkhead.
Note: Make sure that the rear LH door wiring harness seal fits tightly against the B-pillar bulkhead.
- Raise the rear LH window, remove the shop towel from the rear LH door striker, and close both LH doors.
READ NEXT:
 Door - Rear - LH (Remove )
Remove
Open the rear LH door, pass a shop towel halfway through the striker,
and then close the door so that it rests against the shop towel.
Remove the rear LH door glass.
Remove the LH rear
Door - Rear - LH (Remove and Replace)- Install
Install
Install a new secondary door seal on the replacement door. See Seal -
Secondary - Rear Door - LH (Remove and Replace).
Make sure that the upper bolt for each door hinge is installed,
SEE MORE:
Filter - Oil - Rear Drive Unit (Remove and
Replace)
SPECIAL TOOLS
Skt, Oil Filter, 63.5mm X 14
(1130484-00-A)
Kit, Drive Unit Oil Drain, Model
3 (1134264-00-A)
Procedure
Replace the oil filter according
to the gearbox fluid procedure. See
Sensor - Temperature - Evaporator (Remove and Replace)
Remove
Remove the driver floormat.
Remove the LH center console side panel carpet. See
Carpet - Side Panel - Center Console - LH (Remove and Replace).
Disconnect the evaporator temperature sensor electrical connector.
Release the tabs that attach the evaporator temperature sensor ins
© 2019-2024 Copyright www.tmodel3.com
