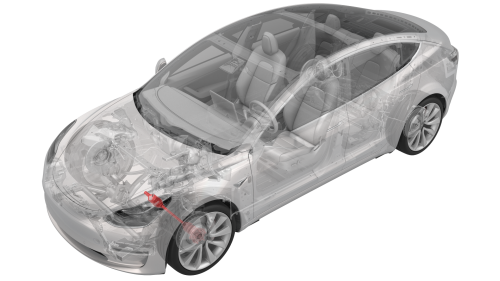
Tesla Model 3: Halfshaft - Front Drive Unit - LH - Remove
SPECIAL TOOLS
Tool, Axle Extraction, Model 3 (1133386-00-A)
Tool, Hub Puller, Hydraulic (1096075-00-A)
Remove
- Remove the LH wheel center cap. See Cap - Wheel (Remove and Replace).
- Loosen the LH wheel lug nuts.
Caution: Use only hand tools to remove or install the fasteners. Do not use impact or power tools.
Caution: Use a 6 point socket. Do not use a 12 point socket or a specialty socket.
.png)
- Loosen the LH front drive unit halfshaft nut.
- Raise and support the vehicle. See Raise Vehicle - 2 Post Lift.
- Remove the LH front wheel. See Wheel (Remove and Install).
.png)
- Remove and discard the LH front drive unit halfshaft nut and washers.
Note: The washers are attached to the nut.
.png)
- Remove and discard the bolt that attaches the LH front ABS wheel speed sensor to the LH front knuckle.
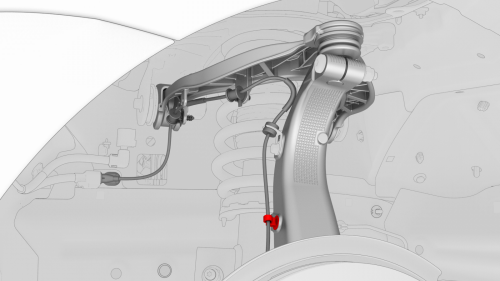
- Release the clip that attaches the LH front ABS wheel speed sensor to the LH front knuckle, and then set the sensor aside.
.png)
- Remove the bolt that attaches the LH front brake hose bracket to the LH front knuckle.
.jpg)
- Remove and discard the nyloc nut that attaches the LH tie rod end to the LH front knuckle, and then remove the tie rod end from the knuckle.
.jpg)
- Remove the bolt and nut that attach the LH front upper control arm to the LH front knuckle.
.jpg)
- Remove the bolt and nut that attach the LH strut to the LH front lower lateral link.
- Position the hydraulic hub puller tool on the LH front wheel studs, and then hand-tighten the wheel lug nuts (x5).
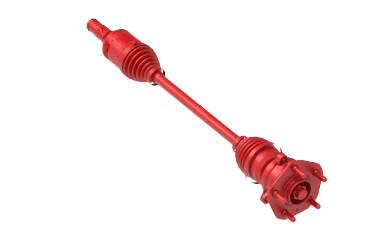
- Remove the LH front drive unit halfshaft from the LH front hub assembly, and then set the halfshaft aside.
Note: While holding the hub in position, turn the hydraulic hub puller tool handle clockwise to separate the LH front drive unit halfshaft from the hub assembly.
- Remove the hydraulic hub puller tool from the LH front wheel studs.
- Install the axle extraction tool between the front drive unit and the inner joint of the LH front drive unit halfshaft, and then strike the handle of the extraction tool with a dead blow hammer to unseat the halfshaft.
- With assistance, remove the LH front drive unit halfshaft from the vehicle, and then install a halfshaft plug into the opening of the gearbox.
Note: Move the LH front knuckle assembly aside
to provide enough clearance to safely remove the LH front drive unit halfshaft.
READ NEXT:
 Halfshaft - Front Drive Unit - LH - Install
Install
Apply approximately 1 gram of Molykote M-77
Lubricant P
Heat Exchanger - Front Drive Unit (Remove and Replace)
Remove
Remove the front subframe assembly. See
Subframe Assembly - Front (Dual Motor) (Remove and Install)
Release the clip that connects the front drive unit inverter-heat
exchanger hose
Hose - Heat Exchanger to Superbottle - Front Drive Unit (Remove and Replace)
Remove
Remove the superbottle. See
Superbottle (Dual Motor) (Remove and Replace).
Install
Installation procedure is the reverse of removal.
Caution:
Perform a push-pull test to verify that the ho
SEE MORE:
Head Supports
The front seats and outer rear seats include
integrated head supports that are not
adjustable.
The rear center seat includes an adjustable
head support that can be raised, lowered, or
removed. The head support should always be
raised and locked into position (so that the
center is aligned w
Seatbelt - 2nd Row - LH (Remove and Replace)
Remove
Remove the rear underhood apron. See Underhood Apron - Rear (Remove and
Replace).
Remove the cabin intake duct. See Duct - Cabin Intake (Remove and
Replace).
Disconnect 12V power. See 12V Power (Disconnect and Connect).
Remove the LH 2nd row seat side bolster. See Bolster - Side -
