Tesla Model 3: Hinge - Hood - LH (Remove and Replace)
Tesla Model 3 2017-2026 Service Manual / Closures / Closure Assist Mechanisms and Hinges / Hinge - Hood - LH (Remove and Replace)
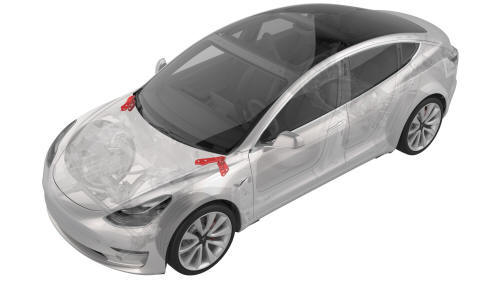
Remove
- Remove the rear underhood apron. See Underhood Apron - Rear (Remove and Replace).
- Remove the cabin intake duct. See Duct - Cabin Intake (Remove and Replace).
- Remove the hood latch cover. See Cover - Hood Latch (Remove and Replace).
- Remove the underhood storage unit. See Underhood Storage Unit (Remove and Replace).
- Remove the LH and RH wiper arms. See Wiper Arms (Remove and Replace).
- Remove the LH and RH shock tower covers. See Cover - Shock Tower - LH (Remove and Replace).
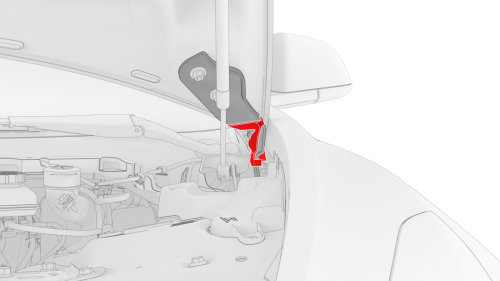
LH hood hinge cover shown, RH similar
- Release the clips that attach the LH and RH hood hinge covers to the hood hinges, and then remove the LH and RH hood hinge covers.
- Remove the cowl screen panel. See Panel - Cowl Screen (Remove and Replace).
- If replacing the LH hood hinge, remove the wiper motor. See Wiper Motor (Remove and Replace).
- Support the hood in the open position.
- Remove the LH and RH hood gas struts. See Gas Strut - Hood - LH (Remove and Replace).
- Mark the position of the RH and LH hood hinges to the hood using masking tape.
- With an assistant, remove the hood support from the vehicle.
- Remove the hood. See Hood (Remove and Install).
- Use tape to mark the mounting location of the hinge on the body.
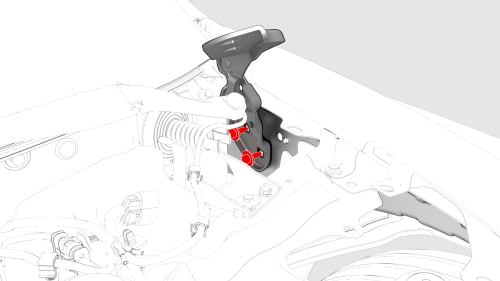
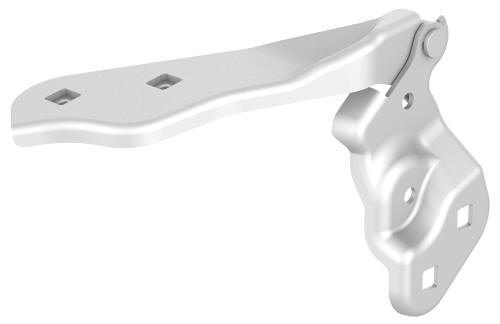
LH hood hinge shown, RH similar
Remove the bolts that attach the LH hood hinge to the body, and then remove
the hinge from the vehicle.
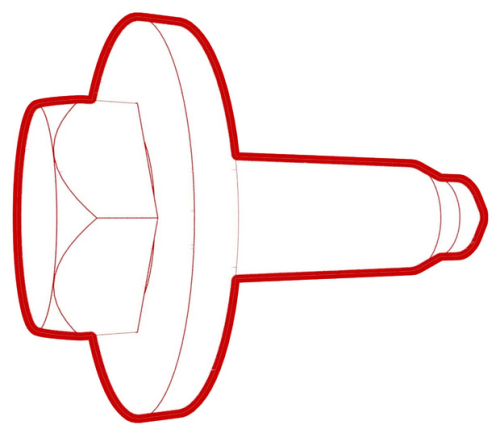 Torque 24 Nm
Install
Installation procedure is the reverse of removal.
READ NEXT:
 Hinge - Trunk - LH (Remove and Replace)
Remove
Remove the trunk assembly. See Trunk (Remove and Install).
Remove the LH side trunk trim. See Trim - Side - Trunk - LH (Remove and
Replace).
Use masking tape to mark the position of th
 Actuator - Latch - Hood - Primary (Remove and Replace)
Remove
Remove the rear underhood apron. See Underhood Apron - Rear (Remove and
Replace).
Remove the cabin intake duct. See Duct - Cabin Intake (Remove and
Replace).
Remove the hood latch co
SEE MORE:
 Overview
This section provides the main information about the Tesla Model 3 car, describing its key characteristics, technologies and capabilities.
Here is a general description of the interior and exterior, including details about the interior design, materials used, seating configuration, storage space an
 Glove Box (LHD) (Remove and Replace) - Remove
Remove
Remove and secure the customer's belongings from the glove box, if
needed.
Remove the 2nd row lower seat cushion. See
Seat Cushion - Lower - 2nd Row (Remove and Replace).
Remove the rear underhood apron. See
Underhood Apron - Rear (Remove and Replace).
Disconnect 12V power. See
1
© 2019-2026 Copyright www.tmodel3.com

