Tesla Model 3: Hinge - Trunk - LH (Remove and Replace)
Tesla Model 3 2017-2026 Service Manual / Closures / Closure Assist Mechanisms and Hinges / Hinge - Trunk - LH (Remove and Replace)
Remove
- Remove the trunk assembly. See Trunk (Remove and Install).
- Remove the LH side trunk trim. See Trim - Side - Trunk - LH (Remove and Replace).
- Use masking tape to mark the position of the trunk hinge on the body.
- Remove the LH trunk gas strut. See Gas Strut - Trunk - LH (Remove and Replace).
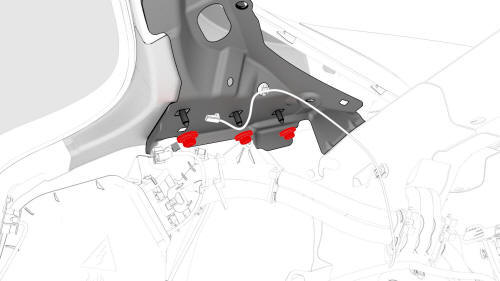
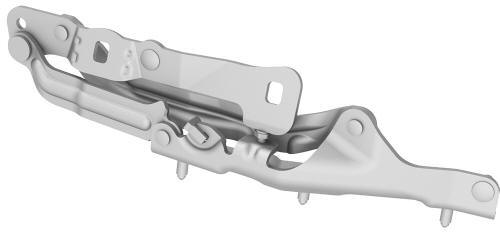
- Remove the nuts that attach the LH trunk hinge to the body, and remove
the hinge from the vehicle.
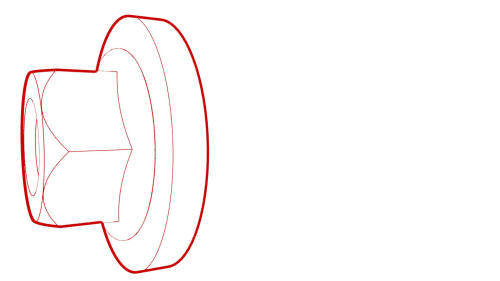 Torque 24 Nm
Install
Installation procedure is the reverse of removal.
READ NEXT:
 Actuator - Latch - Hood - Primary (Remove and Replace)
Remove
Remove the rear underhood apron. See Underhood Apron - Rear (Remove and
Replace).
Remove the cabin intake duct. See Duct - Cabin Intake (Remove and
Replace).
Remove the hood latch co
Actuator - Latch - Hood - Secondary (Remove and Replace)
Actuator - Latch - Hood - Secondary (Remove and Replace)- Remove
Remove
Remove the rear underhood apron. See Underhood Apron - Rear (Remove and
Replace).
Remove the cabin intake duct. See Duct
SEE MORE:
Light - Brake - High Mounted (Remove and Replace)
Remove
Remove the LH 2nd row seat side bolster. See Bolster - Side - Seat - 2nd
Row - LH (Remove and Replace).
Remove the LH side rail trim. See Trim - Side Rail - LH (Remove and
Install).
Remove the LH upper C-pillar trim. See Trim - C-Pillar - Upper - LH (Remove
and Replace).
Remove t
Cooling System (Check and Fill)
Remove
Remove the rear underhood apron. See Underhood Apron - Rear (Remove and
Replace).
Remove the cabin intake duct. See Duct - Cabin Intake (Remove and
Replace).
Remove the outer HVAC plenum duct. See Duct - HVAC Plenum - Outer
(Remove and Replace).
Procedure
Connect a laptop with
© 2019-2026 Copyright www.tmodel3.com
