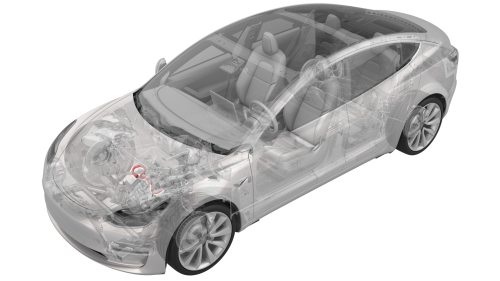
Tesla Model 3: Hose - Inverter to Heat Exchanger - Front Drive Unit (Remove and Replace)
Tesla Model 3 2017-2026 Service Manual / Front Drive Unit / Front Drive Inverter / Hose - Inverter to Heat Exchanger - Front Drive Unit (Remove and Replace)
Remove
- Remove the front subframe assembly from the vehicle. See Subframe Assembly - Front (Dual Motor) (Remove and Install).
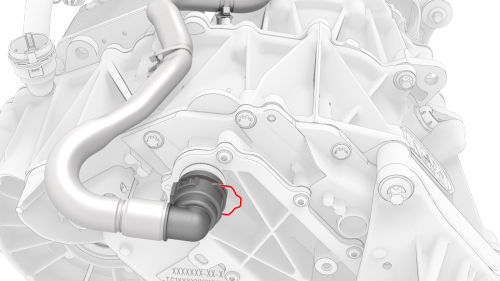
- Release the clip that attaches the front drive unit inverter-heat exchanger hose to the inverter coolant outlet, and then disconnect the hose.
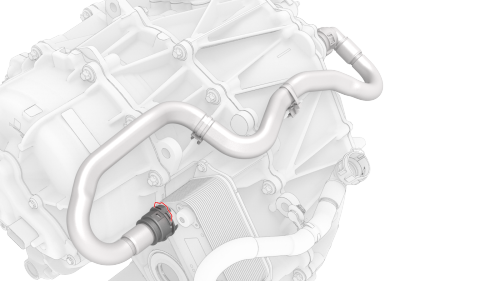
- Release the clip that attaches the front drive unit inverter-heat exchanger hose to the heat exchanger coolant inlet, and then disconnect the hose.

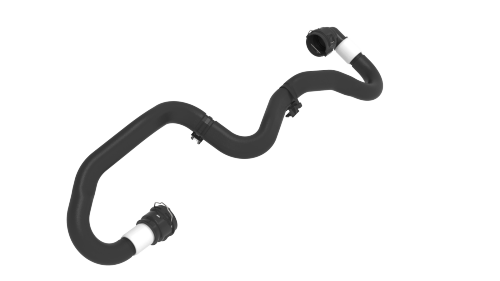
- Release the clips that attach the front drive unit
inverter-heat exchanger hose to the exterior of the
front drive unit, and then remove the hose from the
front drive unit.
Install
Installation procedure is the reverse of removal.Caution: Perform a push-pull test to verify that the hose is fully seated.
READ NEXT:
 Breather - Front Drive Unit (Remove and Replace)
Remove
Remove the front subframe assembly. See
Subframe Assembly - Front (Dual Motor) (Remove and Install).
Remove the front drive unit breather.
Torque 5 Nm
Install
Installation pro
Bushing - Gearbox - Front Drive Unit (Remove and Replace)
Bushing - Gearbox - Front Drive Unit - Remove
SPECIAL TOOLS
Engine Motor Stand, 1000 lb. (NA, APAC)
(1
SEE MORE:
HVAC Assembly (Remove and Replace)
HVAC Assembly- Remove
SPECIAL TOOLS
Kit, EPB Release, Handheld (1134520-00-A)
XP-10 Power Supply, XP-10 (1129348-00-A)
Remove
Remove the rear underhood apron. See
Underhood Apron - Rear (Remove and Replace).
Remove the cabin intake duct. See
Duct - Cabin Intake (Remove and Replace).
Remove t
Handle - Exterior Release - Door - Front - LH (Adjust)
SPECIAL TOOLS
Gauge, Taper Step (1080552-00-A)
Procedure
Remove the LH front door exterior release handle. See Handle - Exterior
Release - Door - Front - LH (Remove and Replace).
Exercise the handle mechanism, pulling the handle to the maximum
position and releasing it, 5 times.
If the ha
© 2019-2026 Copyright www.tmodel3.com
