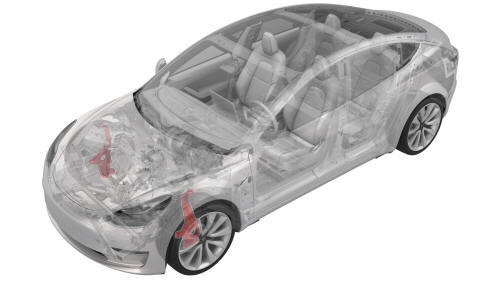
Tesla Model 3: Knuckle - Suspension - Front - LH (RWD) (Remove and Replace)
Tesla Model 3 2017-2026 Service Manual / Suspension / Front Suspension (Including Hubs) / Knuckle - Suspension - Front - LH (RWD) (Remove and Replace)
Remove
- Remove the LH front brake dust shield. See Shield - Dust - Brake - Front - LH (Remove and Replace).

- Remove the bolts that attach the LH front ABS wheel speed sensor
electrical harness to the LH front suspension knuckle.
 Torque 5 Nm
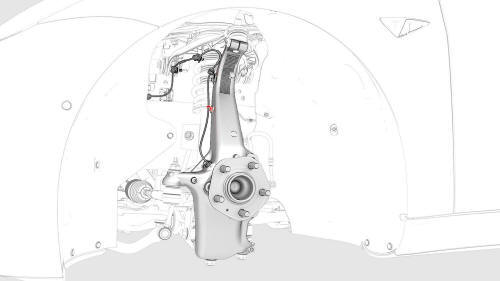
- Release the clip that attaches the LH front ABS wheel speed sensor electrical harness to the LH front suspension knuckle.
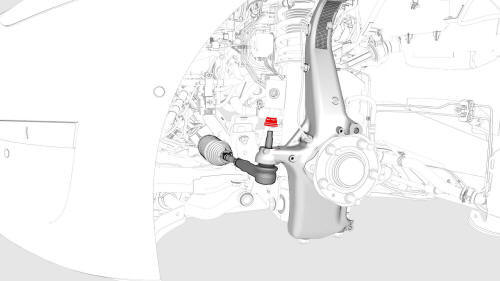
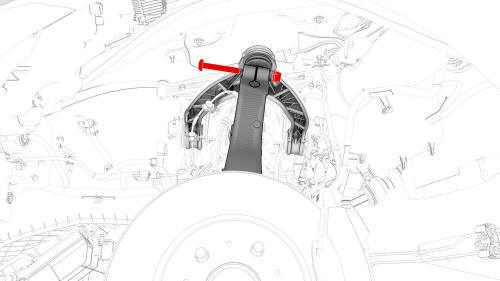
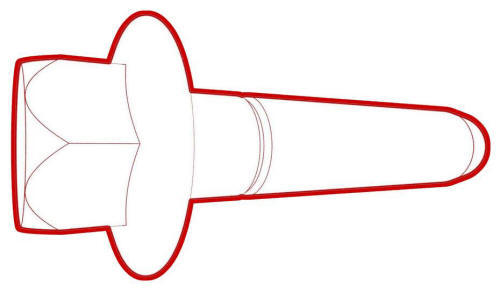
- Remove and discard the nut that attaches the LH tie rod end to the LH
front suspension knuckle.
 Torque 180 Nm
 - Remove the LH tie rod end from the vehicle.
- Remove the bolt and nut that secure the LH upper control arm to the LH
front suspension knuckle.
 Torque 56 Nm
 Torque 56 Nm
- Remove and discard the nut that attaches the LH front lower compliance
link to the front suspension knuckle.
 Torque 180 Nm
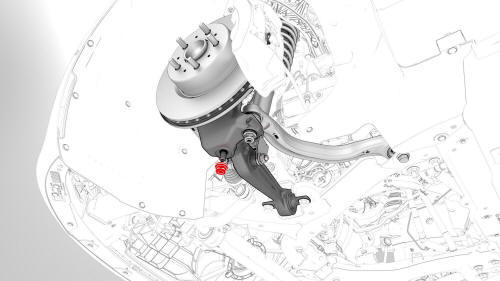
- Remove and discard the nut that attaches the LH front lower lateral link
to the LH front suspension knuckle.
 Torque 180 Nm
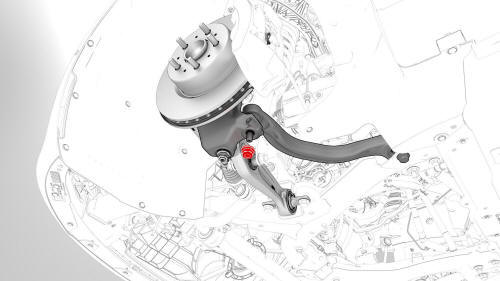
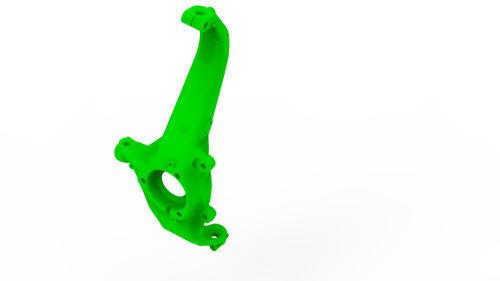
 - Remove the front suspension knuckle and hub assembly from the vehicle.
- Remove the bolts that attach the front hub to the front knuckle.
 Torque 85 Nm
 - Separate the front hub from the front suspension knuckle.
Install
Installation procedure is the reverse of removal, except for the following:
Caution:
Replace all nyloc nuts.
After replacing the front suspension knuckle, perform four wheel alignment check. See Four Wheel Alignment (Check).
READ NEXT:
 Link - Compliance - Lower - Front - LH (Remove and Replace)
Remove
Remove the LH front wheel arch liner. See
Wheel Arch Liner - Front - LH (Remove and Replace).
Remove the front aero shield panel. See
Panel - Aero Shield - Front (Remove and Replace).
Link - Lateral - Lower - Front - LH (Remove and Replace)
Remove
Raise and support the vehicle. See
Raise Vehicle - 2 Post Lift.
Remove the LH front wheel. See
Wheel (Remove and Install).
Remove and discard the nut that attaches the LH front lowe
Link - Stabilizer Bar - Front - LH (Remove and Replace)
Remove
Remove the LH front wheel. See
Wheel (Remove and Install).
Remove and discard the nuts that attach the front LH stabilizer bar link
to the stabilizer bar and damper, and then remove
SEE MORE:
Superbottle (RWD) (Remove and Replace)
Superbottle (RWD) - Remove
SPECIAL TOOLS
Kit, Svc Plug, Cooling Hose, Model 3 (1135762-00-A)
Remove
Disconnect 12V power. See 12V Power (Disconnect and Connect).
Remove the underhood storage unit. See Underhood Storage Unit (Remove
and Replace).
Recover the A/C refrigerant. See A/C Refrigera
Cleaning
Cleaning the Exterior
To prevent damage to the paint, immediately
remove corrosive substances (bird droppings,
tree resin, dead insects, tar spots, road salt,
industrial fallout, etc.). Do not wait until Model
3 is due for a complete wash. If necessary, use
denatured alcohol to remove tar spots
© 2019-2026 Copyright www.tmodel3.com
