Tesla Model 3: Link - Compliance - Lower - Front - LH (Remove and Replace)
Tesla Model 3 2017-2026 Service Manual / Suspension / Front Suspension (Including Hubs) / Link - Compliance - Lower - Front - LH (Remove and Replace)
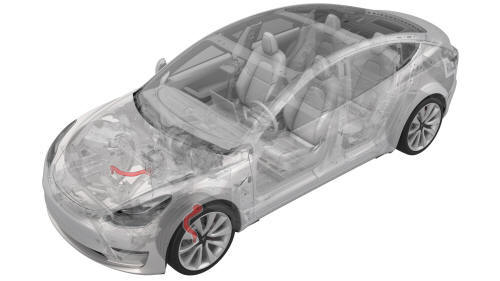
Remove
- Remove the LH front wheel arch liner. See Wheel Arch Liner - Front - LH (Remove and Replace).
- Remove the front aero shield panel. See Panel - Aero Shield - Front (Remove and Replace).
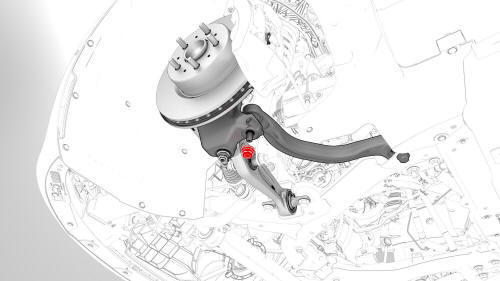
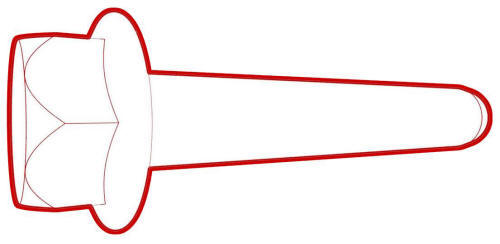
- Remove and discard the nut that attaches the front LH lower compliance
link to the knuckle.
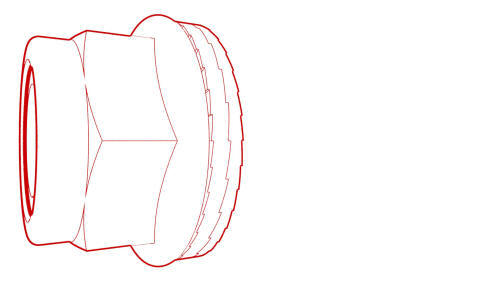 Torque 180 Nm
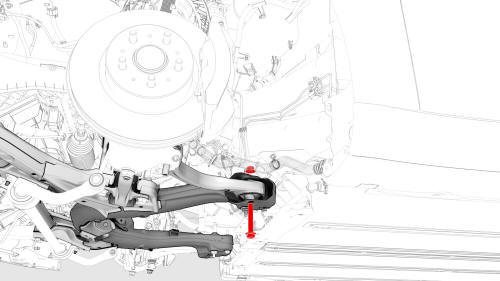
- Remove the bolt and nut that attach the link to the front subframe, and
then remove the link from the subframe and knuckle.
 Torque 115 Nm
 Torque 115 Nm

Install
Installation procedure is the reverse of removal, except for the following:
- Replace all nyloc nuts.
- Perform a 4 wheel alignment. See Four Wheel Alignment (Check and Adjust).
READ NEXT:
 Link - Lateral - Lower - Front - LH (Remove and Replace)
Remove
Raise and support the vehicle. See
Raise Vehicle - 2 Post Lift.
Remove the LH front wheel. See
Wheel (Remove and Install).
Remove and discard the nut that attaches the LH front lowe
Link - Stabilizer Bar - Front - LH (Remove and Replace)
Remove
Remove the LH front wheel. See
Wheel (Remove and Install).
Remove and discard the nuts that attach the front LH stabilizer bar link
to the stabilizer bar and damper, and then remove
Stabilizer Bar - Front (Remove and Replace)
Remove
Remove the front fascia valance. See
Valance - Front Fascia (Remove and Replace).
LH side shown, RH similar
Remove and discard the nuts that attach the front stabilizer bar to the
L
SEE MORE:
Battery Information
About the Battery
Model 3 has one of the most sophisticated
battery systems in the world. The most
important way to preserve the Battery is to
LEAVE YOUR VEHICLE PLUGGED IN when
you are not using it. This is particularly
important if you are not planning to drive
Model 3 for several weeks. Wh
Charge Port Voltage Check
Procedure (Single - Phase)
SPECIAL TOOLS
Insulation Multimeter, Fluke 1507 (NA)
(1076921-00-B)
Insulation Multimeter, Fluke 1587 (EMEA)
(1076921-00-A)
© 2019-2026 Copyright www.tmodel3.com
