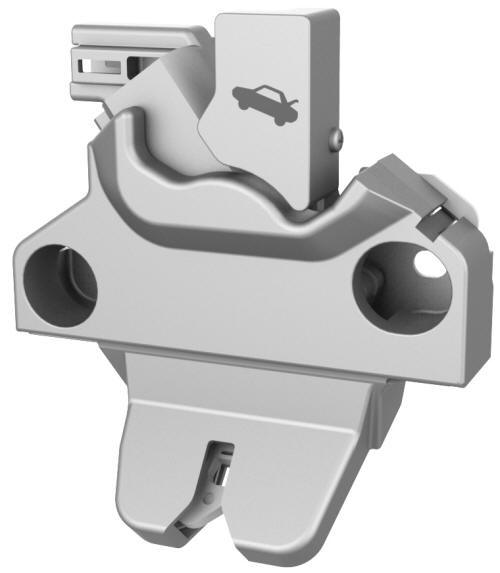
Tesla Model 3: Latch - Trunk (Remove and Replace)
Tesla Model 3 2017-2026 Service Manual / Closures / Latches Strikers and Pinch Sensors / Latch - Trunk (Remove and Replace)
Remove
- Remove the trunk lid trim. See Trim - Lid - Trunk (Remove and Replace).
.jpg)
- Disconnect the electrical connector from the trunk latch.
.jpg)
- Remove the bolts that attach the trunk latch to the trunk lid, and then
remove the latch from the vehicle.
Install
- Position the trunk latch and loosely install the bolts that attach the trunk latch to the trunk lid.
- Connect the electrical connector to the trunk latch.
- Close the trunk to check gap/flush and if necessary, perform adjustments.
- Open the trunk and torque the bolts that attach the trunk latch to the
trunk lid.
.jpg) Torque 8 Nm
Torque 8 Nm - Install the trunk lid trim. See Trim - Lid - Trunk (Remove and Replace).
READ NEXT:
 Manual Release - Door - Rear - LH (Actuate)
Open Rear Door Using Manual Release Cable
Note: This procedure describes how to manually open the rear door
on a vehicle that does not have 12V power.
Remove the bolt that attaches the access
Striker - Door - Front - LH (Remove and Replace)
Remove
Open the LH front door.
Mark the position of the LH front door striker using masking tape.
Remove the bolts that attach the LH front door striker to the body, and
then remove the
Striker - Door - Rear - LH (Remove and Replace)
Remove
Open the LH rear door.
Mark the position of the LH rear door striker using masking tape.
Remove the bolts that attach the LH rear door striker to the body, and
then remove the striker
SEE MORE:
Cap - Wheel (Remove and Replace)
SPECIAL TOOLS
Wheel Trim Removal Tool (1044206-00-A)
Remove
Remove the wheel cap according to the type of wheel.
18 inch pinwheel wheel: See step
2
19 inch stiletto wheel: See step
3
Gently pull the wheel cap with both hands to release the clips that
attach the wheel cap to the wh
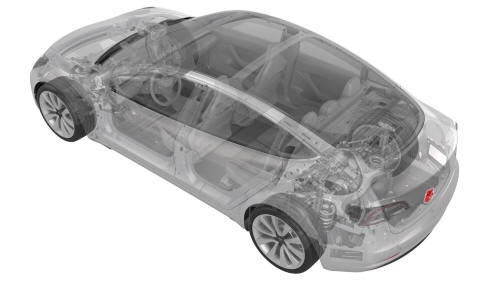
Overview
This section provides the main information about the Tesla Model 3 car, describing its key characteristics, technologies and capabilities.
Here is a general description of the interior and exterior, including details about the interior design, materials used, seating configuration, storage space an
© 2019-2026 Copyright www.tmodel3.com
