Tesla Model 3: Manual Release - Door - Rear - LH (Actuate)
Tesla Model 3 2017-2026 Service Manual / Closures / Latches Strikers and Pinch Sensors / Manual Release - Door - Rear - LH (Actuate)
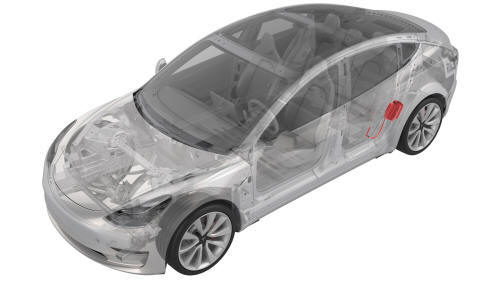
Open Rear Door Using Manual Release Cable
Note: This procedure describes how to manually open the rear door on a vehicle that does not have 12V power.

- Remove the bolt that attaches the access panel to the underside of the
armrest.
 Torque 6 Nm
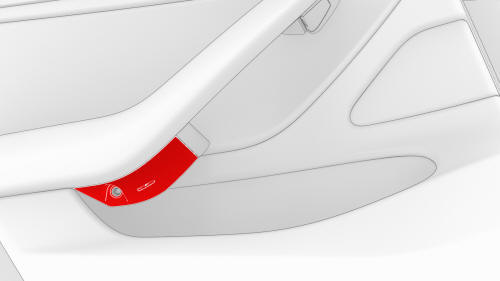
- Release the clips that attach the access panel to the underside of the LH rear door armrest, and then remove the access panel from the vehicle.
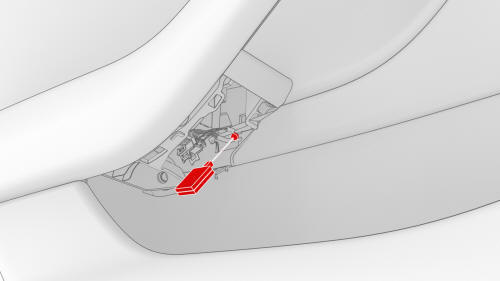
- Use a pick to pull the manual release cable out from the opening under the armrest.
Note: The manual release cable is hidden behind a small hole in the door panel.
Note: The insulating foam may be damaged during this step. Check for and remove any fragments of the foam.
- Pull the manual release cable to open the LH rear door.
- Remove the insulating foam from the manual release cable.
Install
Installation procedure is the reverse of removal, except for the following:
Fold a new piece of 25 mm x 64 mm x 3mm adhesive foam over the manual release cable ring.
READ NEXT:
 Striker - Door - Front - LH (Remove and Replace)
Remove
Open the LH front door.
Mark the position of the LH front door striker using masking tape.
Remove the bolts that attach the LH front door striker to the body, and
then remove the
Striker - Door - Rear - LH (Remove and Replace)
Remove
Open the LH rear door.
Mark the position of the LH rear door striker using masking tape.
Remove the bolts that attach the LH rear door striker to the body, and
then remove the striker
Striker - Hood (Remove and Replace)
DRAFT
Warning:
This procedure was derived from pre-production computer models, and
might not reflect the real-world situation. Warnings and cautions might be
missing. Follow safety requirements
SEE MORE:
Motor - Seat Tilt - Driver Seat (Remove and Replace)
Remove
Remove the driver seat. See
Seat - Driver (Remove and Replace).
Remove the driver seat outer side cover. See
Cover - Outer Side - Driver Seat (Remove and Install).
Disconnect the electrical harness from the driver seat tilt motor
connector.
Remove the bolts that attach t
Duct - Air Wave - LH (Remove and Replace)
Remove
Remove the IP carrier. See
IP Carrier (Remove and Replace).
Remove the screws (x2) that attach the LH air wave duct to the cross bar
beam, and then remove the duct from the vehicle.
Install
Install the LH air wave duct to the cross car beam, and then install the
screws (x
© 2019-2026 Copyright www.tmodel3.com
