Tesla Model 3: Seatbelt - 1st Row - LH (Remove and Replace)
Tesla Model 3 2017-2026 Service Manual / Safety and Restraint / Seatbelts / Seatbelt - 1st Row - LH (Remove and Replace)
SPECIAL TOOLS
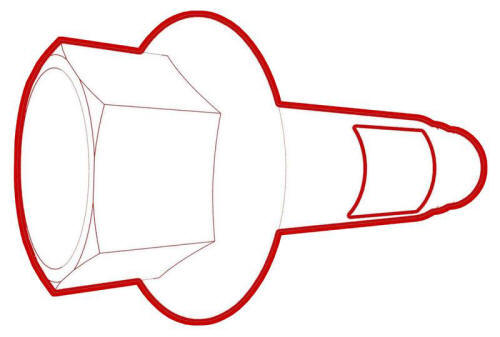
Key, Seat Belt Release, Model 3 (1133787-00-A)
Remove
- Remove the LH instrument panel end cap. See End Cap - Instrument Panel - LH (Remove and Replace).
- Remove the LH middle A-pillar trim. See Trim - A-Pillar - Middle - LH (Remove and Replace).
- Remove the LH lower A-pillar trim. See Trim - A-Pillar - Lower - LH (Remove and Replace).
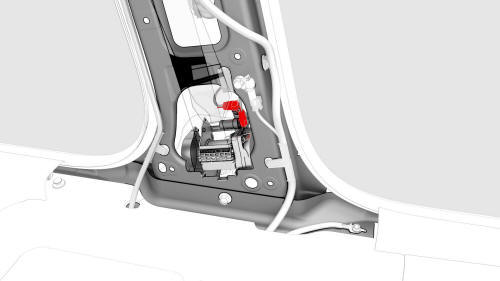
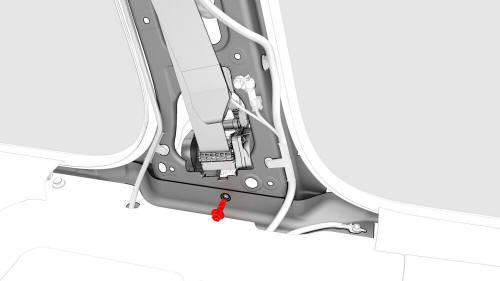
- Insert the seat belt release key into the bottom of the seatbelt pretensioner coupling to release the seatbelt from the pretensioner.
- Remove the 2nd row lower seat cushion. See Seat Cushion - Lower - 2nd Row (Remove and Replace).
- Remove the rear underhood apron. See Underhood Apron - Rear (Remove and Replace).
- Disconnect 12V power. See 12V Power (Disconnect and Connect).
- Remove the LH 2nd row seat side bolster. See Bolster - Side - Seat - 2nd Row - LH (Remove and Replace).
- Remove the LH rear sill panel trim. See Trim - Sill Panel - Rear - LH (Remove and Replace).
.jpg)
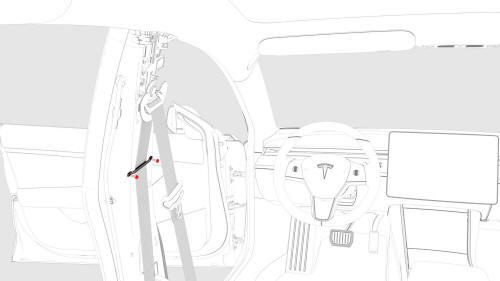
- Release the clips that attach the LH upper B-pillar trim to the vehicle.
.png) Tip: Release the clips at the bottom of the LH upper B-pillar trim first, and
then release the clips at the top of the trim
Tip: Release the clips at the bottom of the LH upper B-pillar trim first, and
then release the clips at the top of the trim
- Slide the seatbelt through the hole in the LH upper B-pillar trim, and then set the trim aside.
- Remove the LH lower B-pillar trim. SeeTrim - B-Pillar - Lower - LH (Remove and Replace).
.jpg)
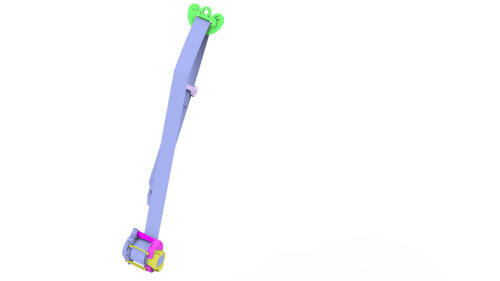
- Remove and discard the patchbolt that attaches the upper D-ring to the
B-pillar.
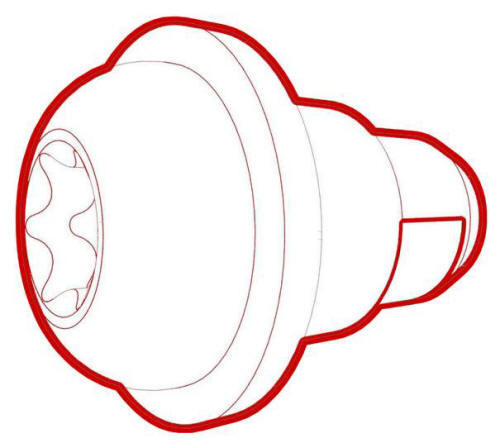 Torque 20 Nm
- Remove the bolts that attach the seat belt webbing guide to the
B-pillar, and then remove the guide from the B-pillar.
 Torque 3.5 Nm
- Disconnect the electrical connectors (x2) from the seat belt retractor.
- Remove and discard the patchbolt that attaches the seat belt retractor
to the base of the B-pillar.
 Torque 40 Nm
 - Remove the LH front seatbelt from the vehicle.
Install
Installation procedure is the reverse of removal, except for the following:
Caution:
Replace all patchbolts
Note: After reinstalling the seatbelt pretensioner into the seatbelt pretensioner coupling, perform a pull test to make sure that the seatbelt and pretensioner are securely engaged.
READ NEXT:
 Seatbelt - 2nd Row - Center (Remove and Replace)
Remove
Remove the 2nd row lower seat cushion. See Seat Cushion - Lower - 2nd
Row (Remove and Replace).
Remove the rear underhood apron. See Underhood Apron - Rear (Remove and
Replace).
Disco
Seatbelt - 2nd Row - LH (Remove and Replace)
Remove
Remove the rear underhood apron. See Underhood Apron - Rear (Remove and
Replace).
Remove the cabin intake duct. See Duct - Cabin Intake (Remove and
Replace).
Disconnect 12V power. See
Pretensioners
Pretensioner - Outboard Lap - 1st Row - LH (Remove and Replace)
Note: This procedure was formulated using a release candidate or
production model. Follow safety requirements and use extreme caution
SEE MORE:
Shield - Dust - Brake - Rear - LH (Remove and Replace)
Shield - Dust - Brake - Rear - LH - Remove
SPECIAL TOOLS
Card, Magnetic Field Viewer (1062500-00-A)
Tool, Hub Puller, Hydraulic (1096075-00-A)
Remove
No
Harness - 12V Battery Positive (Remove and Replace)
Harness - 12V Battery Positive- Remove
Remove
Remove the cowl screen panel. See
Panel - Cowl Screen (Remove and Replace).
Remove the 12V auxiliary battery. See
Battery - 12V (Remove and Replace).
Remove the 12V battery bracket. See
Bracket - 12V Battery (RWD) (Remove and Replace).
Remo
© 2019-2026 Copyright www.tmodel3.com
