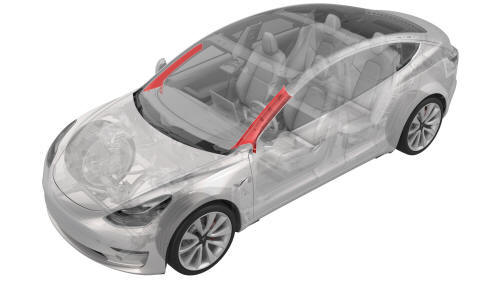
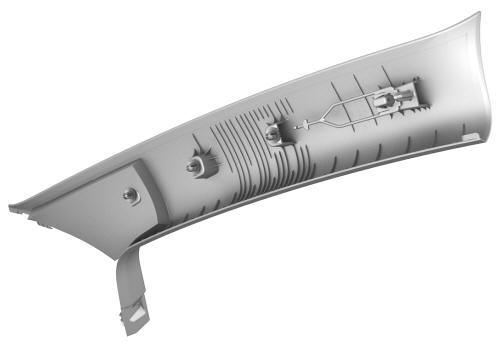
Tesla Model 3: Trim - A-Pillar - Upper - LH (Remove and Replace)
Tesla Model 3 2017-2026 Service Manual / Interior Trim / Pillar and Sill Trim / Trim - A-Pillar - Upper - LH (Remove and Replace)
Remove
- Open the LH front door.
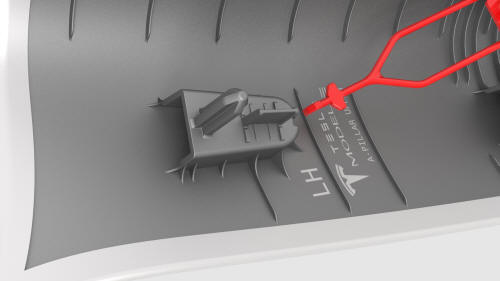
- Remove the LH instrument panel end cap. See End Cap - Instrument Panel - LH (Remove and Replace).
- Remove the LH middle A-Pillar trim. See Trim - A-Pillar - Middle - LH (Remove and Replace).
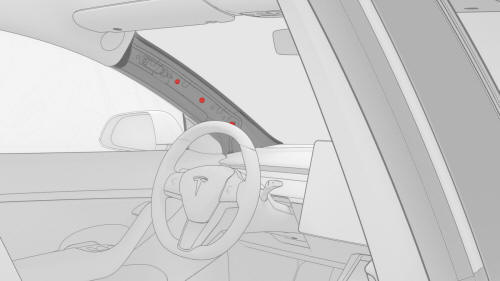
- Release the clips that attach the LH upper A-pillar trim to the A-pillar.
Note: Release the top clip first and work forward and down.
- Release the LH upper A-pillar trim tether by twisting and pulling the tether hooks (x3) away from the LH upper A-pillar trim.
Caution:
Do not remove the LH upper A-pillar trim tether from the body side. If removed from the body side, the tether will have to be replaced.
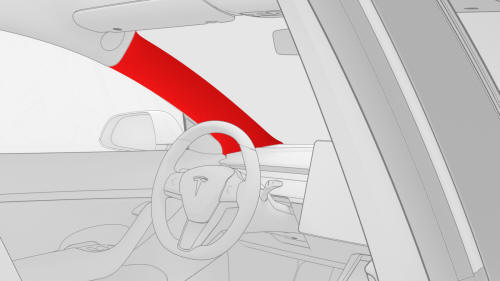
- Pull upwards to remove the LH upper A-pillar trim from the vehicle.
Note: Remove any remaining LH upper A-pillar trim clips from the LH
A-pillar, and if the LH upper A-pillar trim is to be later installed, remove all
clips from the trim.
Install
- If reusing the same LH upper A-pillar trim, install new clips onto the trim.
- Make sure that the clips are undamaged, and at the correct positions on the trim.
- Fasten the tether hooks (x3) to the LH upper A-pillar trim.
- Insert the front lower edge of the trim into the instrument panel carrier, and then firmly fasten the clips that attach the LH upper A-pillar trim to the A-pillar.
Note: Fasten the top clip first, and then work toward the front of the vehicle.
Note: Look through the windshield from outside of the vehicle to check that the LH upper A-pillar trim is flush with the A-pillar
- Install the LH middle A-Pillar trim. See Trim - A-Pillar - Middle - LH (Remove and Replace).
- Install the LH instrument panel end cap. See End Cap - Instrument Panel - LH (Remove and Replace).
READ NEXT:
 Trim - B-Pillar - Lower - LH (Remove and Replace)
Remove
Remove the LH instrument panel end cap. See
End Cap - Instrument Panel - LH (Remove and Replace).
Remove the LH middle A-pillar trim. See
Trim - A-Pillar - Middle - LH (Remove and Replac
Trim - B-Pillar - Upper - LH (Remove and Replace)
SPECIAL TOOLS
Key, Seat Belt Release, Model 3 (1133787-00-A)
Remove
Open both LH doors.
Move the LH front seat fully forward.
Use the seat belt release key to release the LH front seatbelt
Trim - C-Pillar - Rear - LH (Remove and Replace)
Trim - C-Pillar - Rear - LH (Remove and Replace) - Remove
Remove
Remove the 2nd row lower seat cushion. See
Seat Cushion - Lower - 2nd Row (Remove and Replace).
Remove the LH 2nd row seat side
SEE MORE:
Speaker - Emergency (Remove and Replace)
Remove
Remove the RH footwell cover. See Cover - Footwell - Passenger (LHD) (Remove
and Replace).
Disconnect the electrical connector for the emergency speaker.
Release the screws that attach the emergency speaker to the RH footwell
cover, and then remove the emergency speaker.
Module - Steering Column Control (Remove and Replace)
Module - Steering Column Control - Remove
Remove
Remove the 2nd row lower seat cushion. See Seat
Cushion - Lower - 2nd Row (Remove and Replace).
Remove the rear underhood apron. See Underhood Apron
- Rear (Remo
© 2019-2026 Copyright www.tmodel3.com
