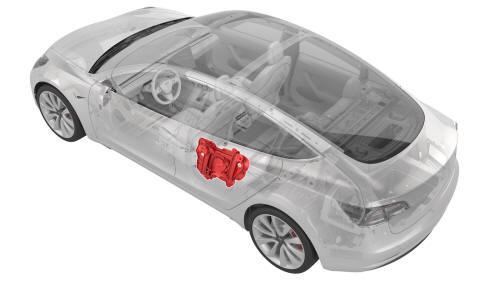
Tesla Model 3: Window Motor / Regulator Assembly - Rear - LH (Remove and Replace)
Tesla Model 3 2017-2026 Service Manual / Closures / Door Glass and Regulators / Window Motor / Regulator Assembly - Rear - LH (Remove and Replace)
SPECIAL TOOLS
Rivnut Install Kit, for NA (1054712-00-A )Rivnut Install Kit, for EMEA (1054712-01-A )
Service rivnut (1004296-00-A)Service bolt (1015888-00-C)
Warning: The side impact airbag deployment depends on the front door sensor's ability to detect a side impact from air pressure. Make sure that there are no uncovered holes in the front door shells. Additionally, always reinstall plugs or tape when servicing or inspecting the front doors and their components.Remove
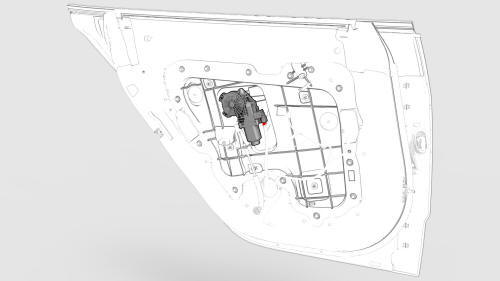
- Remove the rear LH door glass. See Glass - Door - LH - Rear (Remove and Replace).
- Disconnect the electrical connector to the motor.
- Release the clips that attach the manual latch release cable to the window regulator panel.
.jpg)
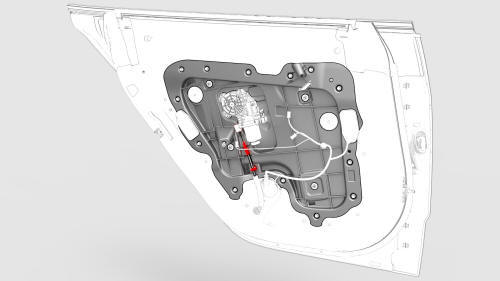
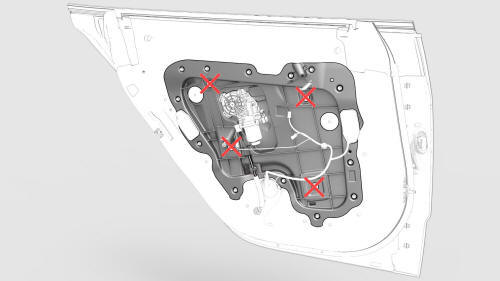
- Remove the screws (x13) and release the metal clip that attach the window regulator panel to the door, and then remove the regulator from the door. Torque 4 Nm
Caution:
Never loosen or remove the nuts that attach the regulator arms to the
closeout panel.
Install
Installation procedure is the reverse of removal, except for the following:
Caution:
Repeated installations might strip the mounting holes for the window regulator panel. On installation, hand-start the screws so as to reduce the risk of stripping the threads.
Install rivnuts where any of the mounting holes for the window regulator panel are stripped. Use a 7.5mm drill to prepare the hole for rivnut installation.
READ NEXT:
 Window Regulator - Front - LH (Recalibrate)
Connect a laptop with Toolbox to the vehicle.
In Toolbox, select the connection status icon at the top right corner,
and then select Connect Locally.
Get into the driver seat, and then close the
Window Regulator - Rear - LH (Recalibrate)
Connect a laptop with Toolbox to the vehicle.
In Toolbox, select the connection status icon at the top right corner,
and then select Connect Locally.
Get into the driver seat, and then close the
SEE MORE:
Locking Devices
General
Always replace locking devices with ones of the same design.
Caution: Do not use impact tools on fasteners that are threaded into
aluminum components.
Locking Tabs and Washers
Always inspect locking tabs and washers. Do not reuse, if damaged.
Pipe and Hose Unions
To prevent rotational damag
Tesla Badge - Rear (Remove and Replace)
SPECIAL TOOLS
Kit, Badge Removal (1453028-00-A)
Fixture, Rear Badge, Model 3 (1134703-00-A)
Remove
Prepare the badge removal tool with approximately 60 centimeters of
monofilament line.
Raise the trunk lid, and position the badge removal tool so that the
monofilament line cuts under a corn
© 2019-2026 Copyright www.tmodel3.com
