Tesla Model 3: Actuator - Latch - Hood - Secondary (Remove and Replace)- Remove
Tesla Model 3 2017-2024 Service Manual / Closures / Latches Strikers and Pinch Sensors / Actuator - Latch - Hood - Secondary (Remove and Replace) / Actuator - Latch - Hood - Secondary (Remove and Replace)- Remove
Remove
- Remove the rear underhood apron. See Underhood Apron - Rear (Remove and Replace).
- Remove the cabin intake duct. See Duct - Cabin Intake (Remove and Replace).
- Remove the hood latch cover. See Cover - Hood Latch (Remove and Replace).
- Remove the underhood storage unit. See Underhood Storage Unit (Remove and Replace).
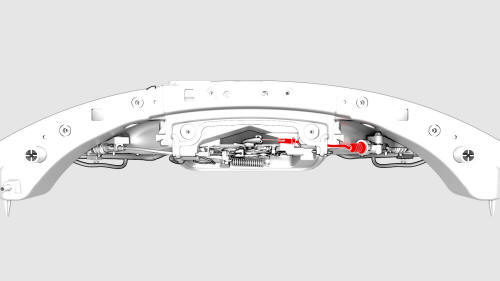
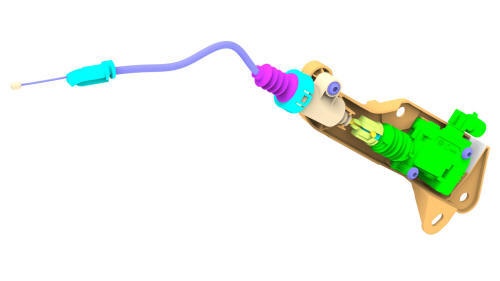
- Release the secondary hood latch actuator cable from the hood latch.
Note: Release the clip before removing the actuator cable from the latch arm.
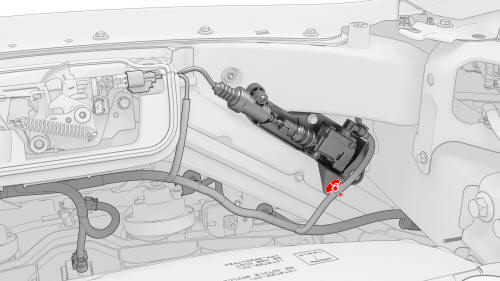
- Disconnect the electrical connector from the secondary hood latch actuator.
- Release the clip that attaches the secondary hood latch actuator to the front end carrier.
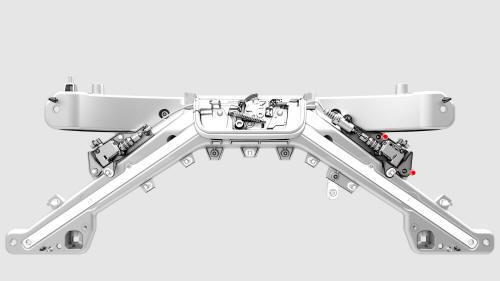
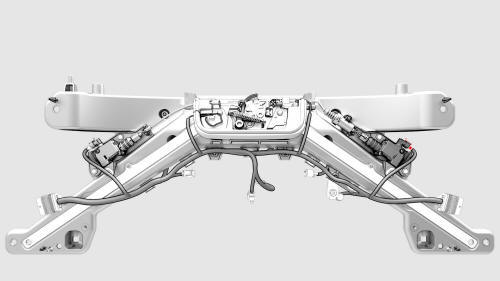
- Remove the bolts that attach the secondary hood latch actuator to the
front end carrier, and then remove the actuator from the vehicle.
READ NEXT:
 Actuator - Latch - Hood - Secondary (Remove and Replace)- Install
Install
Install the bolts that attach the secondary hood latch actuator to the
front end carrier.
Torque 5 Nm
Connect the electrical connector to the secondary hood latch actuator.
Latch - Door - Front - LH (Remove and Replace)
Remove
Remove the front LH door closeout panel. See Closeout Panel - Door -
Front - LH (Remove and Install).
Disconnect the electrical harness from the door latch connector.
Latch - Door - Rear - LH (Remove and Replace)
Remove
Remove the front LH door closeout panel. See Closeout Panel - Door -
Front - LH (Remove and Install).
Disconnect the electrical harness from the door latch connector.
Remove
SEE MORE:
Switch - Window - Driver (Remove and Replace)
Remove
Remove the LH front door trim panel. See
Panel - Door Trim - Front - LH (Remove and Install).
Release the clip that attaches the driver window switch electrical
harness to the door trim panel.
Release the clips that attach the driver window switch to the door trim
panel.
Rail - 2nd Row - Inner - LH (Remove and Replace)
Remove
Remove the 2nd row lower seat cushion. See
Seat Cushion - Lower - 2nd Row (Remove and Replace).
Remove the 2nd row buckle assembly:
LH: See
Buckle - 2nd Row - LH (Remove and Replace).
RH and center: See
Buckle - 2nd Row - Center (Remove and Replace).
Remove the bolts that
© 2019-2024 Copyright www.tmodel3.com
