Tesla Model 3: Airbag - Curtain - LH - Install
Tesla Model 3 2017-2024 Service Manual / Safety and Restraint / Airbags / Airbag - Curtain - LH (Remove and Replace) / Airbag - Curtain - LH - Install
Install
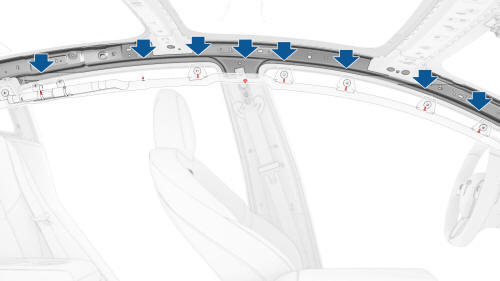
- Install the LH curtain airbag to the side rail, and then carefully fasten the clips (x8) that attach the airbag to the side rail.
Warning: If any clips are damaged, the airbag must be replaced.
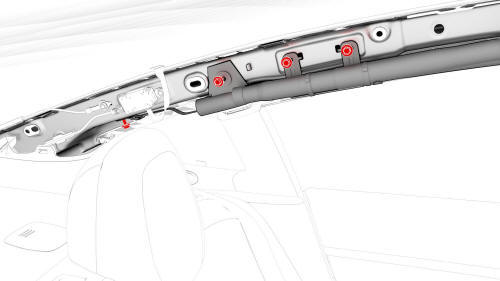
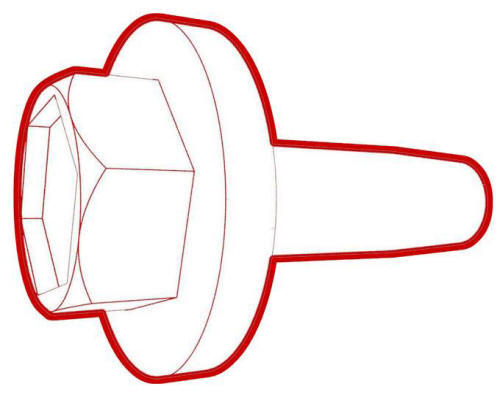
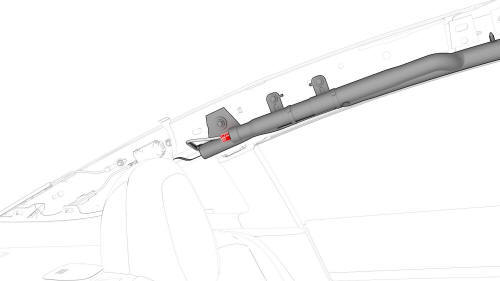
- Install and hand-tighten the bolts that attach the rear portion of the LH curtain airbag to the body.
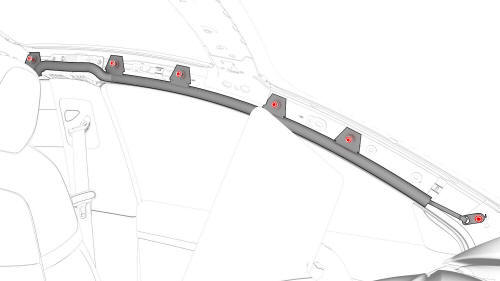
- Install and hand-tighten the bolts that attach the front and center portions of the LH curtain airbag to the body.
- Torque the bolts that attach the LH curtain airbag to the body.
 Torque
9 Nm
Torque
9 Nm
- Connect the electrical harness to the LH curtain airbag connector.
- Install the headliner. See Headliner (Remove and Install).
- Connect 12V power. See 12V Power (Disconnect and Connect).
READ NEXT:
 Airbag - Driver (Remove and Replace)
Remove
Remove the 2nd row lower seat cushion. See Seat Cushion - Lower - 2nd
Row (Remove and Replace).
Remove the rear underhood apron. See Underhood Apron - Rear (Remove and
Replace).
Disco
Airbag - Front Passenger (Remove and Install)
DRAFT
Warning: This procedure was derived from pre-production
computer models, and might not reflect the real-world situation. Warnings and
cautions might be missing. Follow safety requireme
Airbag - Front Passenger (Remove and Replace)
DRAFT
Warning:
This procedure was derived from pre-production computer models, and
might not reflect the real-world situation. Warnings and cautions might be
missing. Follow safety requirements a
SEE MORE:
Halfshaft - Front Drive Unit - LH - Remove
SPECIAL TOOLS
Tool, Axle Extraction, Model 3 (1133386-00-A)
Tool, Hub Puller, Hydraulic (1096075-00-A)
Remove
Remo
Subframe Assembly - Front (RWD) - Install
Install
Position the subframe lifting tool against the front subframe, and then
attach the straps (x3) to the subframe.
Note: Make sure to align the two subframe lifting tool guides with
the front subframe.
Lower the front drive unit onto the front subframe
Note: Make sure not to move the r
© 2019-2024 Copyright www.tmodel3.com
