Tesla Model 3: Center Console (Remove and Install) - Install
Tesla Model 3 2017-2024 Service Manual / Interior Trim / Center Console / Center Console (Remove and Install) / Center Console (Remove and Install) - Install
Install
- With an assistant, install the center console into the vehicle as follows:
- Tilt the front of the center console downwards.
- Slide the center console towards the front of the vehicle.
- Tilt the rear of the center console downwards until it is in place.
- Open the center console rotating lid.
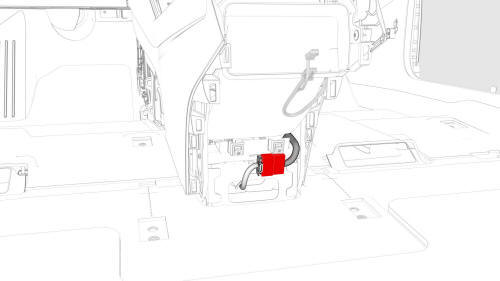
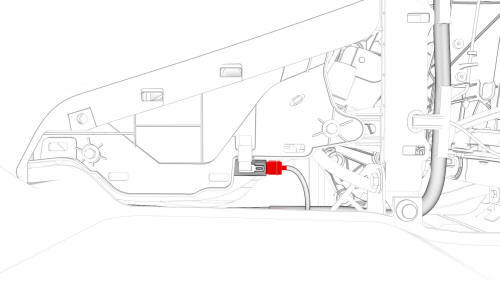
- Connect the electrical connector in the rear of the center console.
Caution: Ensure the connector is properly installed. Perform a push-pull test before continuing this procedure.
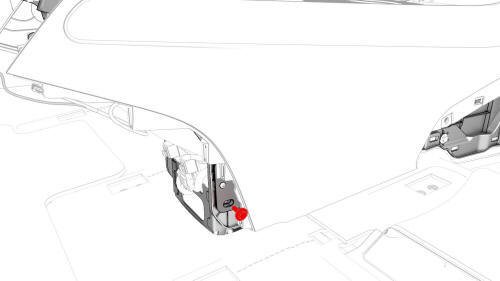
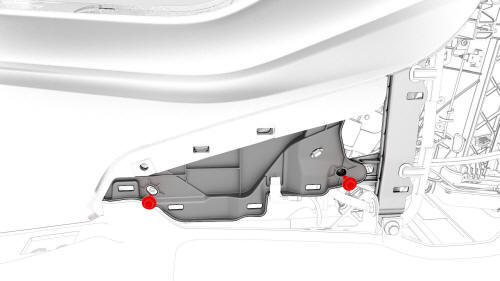
- Install the bolt that attaches the RH rear of the center console to the
body.
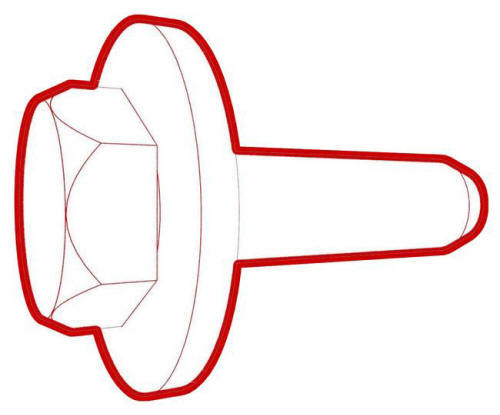 Torque 7 Nm
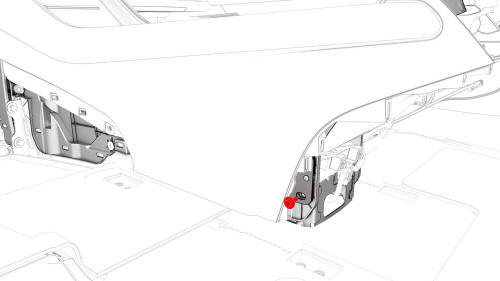
- Install the bolt that attaches the LH rear of the center console to the
body.
Torque 7 Nm
- Install the center console lower rear panel. See Panel - Lower Rear - Center Console (Remove and Replace).

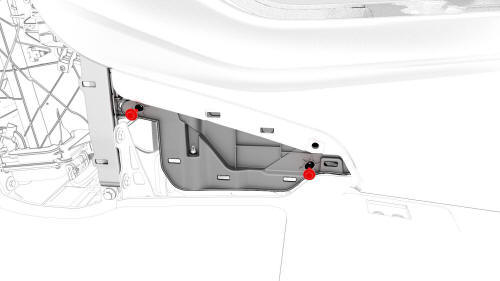
- Install the bolts that attach the front of the center console to the
body.
 Torque 1.7 Nm
 - Install the phone tray. See Phone Tray - Center Console (Remove and Replace).
- Connect the electrical connector that is located at the RH front of the center console.
Caution:
Ensure the connector is properly installed. Perform a push-pull test before continuing this procedure.
- Install the bolts that attach the RH front of the center console to the
body.
Torque
7 Nm
- Install the RH center console side panel carpet. See Carpet - Side Panel - Center Console - LH (Remove and Replace).
- Install the front passenger floormat.
- Install the bolts that attach the LH front of the center console to the
body.
Torque 7 Nm
- Install the LH center console side panel carpet. See Carpet - Side Panel - Center Console - LH (Remove and Replace).
- Install the driver floormat.
- Install the rear underhood apron. See Underhood Apron - Rear (Remove and Replace).
- Install the 2nd row lower seat cushion. See Seat Cushion - Lower - 2nd Row (Remove and Replace).
- Restore the customer's belongings into the center console, if needed.
READ NEXT:
 Center Console (Remove and Replace)
Remove
Remove the center console assembly. See
Center Console (Remove and Install).
Install
With an assistant, install the center console into the vehicle as
follows:
Tilt the front of th
Cup Holder (Remove and Replace)
Remove
Disconnect 12V power. See
12V Power (Disconnect and Connect).
Remove the center console decor trim. See
Decor Trim - Center Console (Remove and Replace).
Remove the screws and rele
Decor Trim - Center Console (Remove and Replace)
Remove
Open the LH front door.
Move the LH front seat to the lowest and most rearward position.
Clip Locations on Center Console
Clip Locations on Decor Trim
Release the clips (x9) th
SEE MORE:
Glove Box (LHD) (Remove and Replace) - Remove
Remove
Remove and secure the customer's belongings from the glove box, if
needed.
Remove the 2nd row lower seat cushion. See
Seat Cushion - Lower - 2nd Row (Remove and Replace).
Remove the rear underhood apron. See
Underhood Apron - Rear (Remove and Replace).
Disconnect 12V power. See
1
Armrest - 2nd Row (Remove and Replace)
Remove
Open all four doors and move the front LH and RH seats fully forward.
Fold down the RH 2nd row seatback assembly.
Remove the bolt that attaches the 2nd row armrest to the LH 2nd row seat
back assembly.
Torque 15 Nm
Pull the RH side of the 2nd row center armrest towards
© 2019-2024 Copyright www.tmodel3.com
