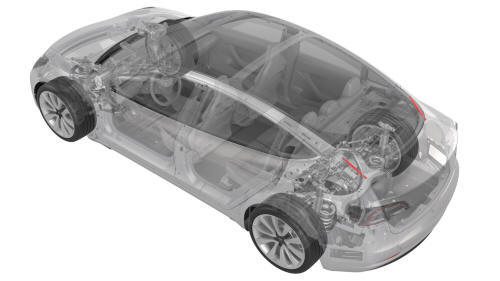
Tesla Model 3: Gas Strut - Trunk - LH (Remove and Replace)
Tesla Model 3 2017-2026 Service Manual / Closures / Closure Assist Mechanisms and Hinges / Gas Strut - Trunk - LH (Remove and Replace)

Remove
- Open the trunk, and support the trunk in the open position.

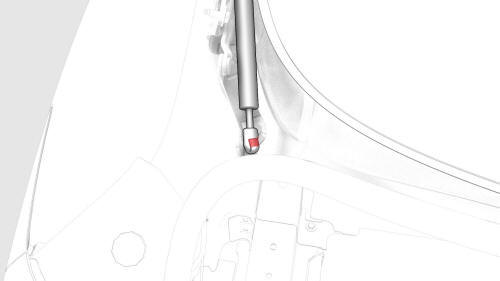
- Release the clip that attaches the lower end of the LH trunk gas strut to the hinge on the vehicle.

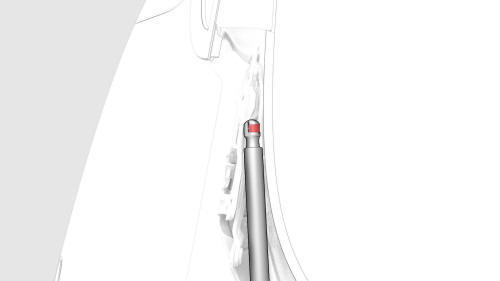
- Release the clip that attaches the upper end of the LH trunk gas strut
to the hinge on the trunk lid, and then remove the strut from the vehicle.

Install
Installation procedure is the reverse of removal, except for the following:
Lubricate both pivot points on the LH trunk gas strut.
READ NEXT:
 Hinge - Hood - LH (Remove and Replace)
Remove
Remove the rear underhood apron. See Underhood Apron - Rear (Remove and
Replace).
Remove the cabin intake duct. See Duct - Cabin Intake (Remove and
Replace).
Remove the hood latch co
 Hinge - Trunk - LH (Remove and Replace)
Remove
Remove the trunk assembly. See Trunk (Remove and Install).
Remove the LH side trunk trim. See Trim - Side - Trunk - LH (Remove and
Replace).
Use masking tape to mark the position of th
SEE MORE:
 Steering Rack (Dual Motor) (Remove and Replace)
Caution:
Vehicles built before March 25th, 2019 have 1st generation
front subframes. Vehicles built on March 25th, 2019 and
after have 2nd generation front subframes. 1st generation
subframes require special M8 bolts to
 Glass - Door - LH - Front (Remove and Replace)
SPECIAL TOOLS
TOOLKIT, WINDOW SWITCH (1454796-00-A)
Warning: The side impact airbag deployment depends on the front door
sensor's ability to detect a side impact from air pressure. Make sure that there
are no uncovered holes in the front door shells. Additionally, always reinstall
plugs or tap
© 2019-2026 Copyright www.tmodel3.com

