Tesla Model 3: Latch - Hood (Remove and Replace)
Tesla Model 3 2017-2026 Service Manual / Closures / Latches Strikers and Pinch Sensors / Latch - Hood (Remove and Replace)
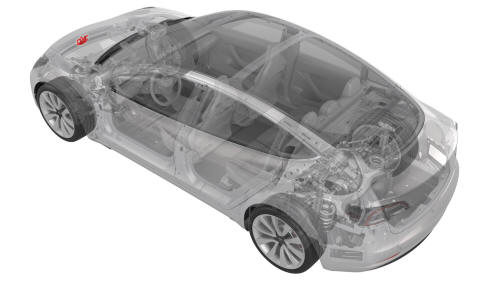
Remove
- Remove the rear underhood apron. See Underhood Apron - Rear (Remove and Replace).
- Remove the cabin intake duct. See Duct - Cabin Intake (Remove and Replace).
- Remove the hood latch cover. See Cover - Hood Latch (Remove and Replace).
- Remove the underhood storage unit. See Underhood Storage Unit (Remove and Replace).
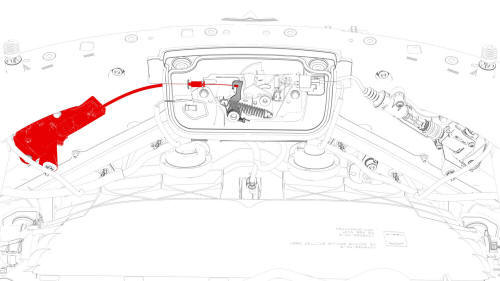
- Release the primary hood latch actuator cable from the hood latch.
Note: Release the clip before removing the primary latch actuator cable from the hood latch arm.
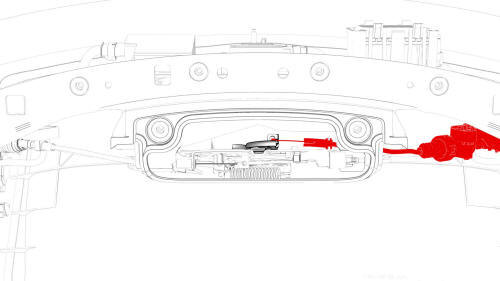
- Release the secondary hood latch actuator cable from the hood latch.
Note: Release the clip before removing the secondary latch actuator cable from the hood latch arm.
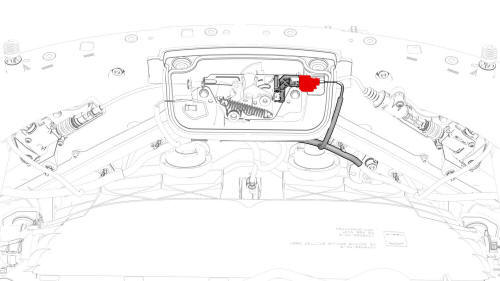
- Disconnect the electrical connector from the hood latch connector.
- Mark the location of the hood latch with masking tape.
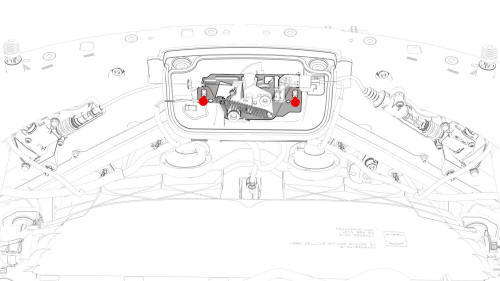
- Remove the bolts that attach the hood latch to the front end carrier,
and then remove the latch from the vehicle.
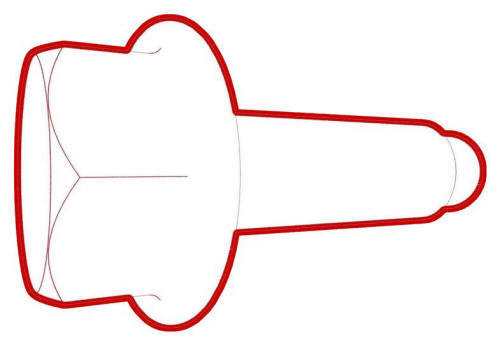 Torque 8 Nm
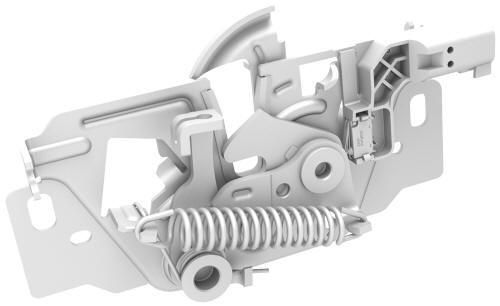
Install
Installation procedure is the reverse of removal.
READ NEXT:
 Latch - Trunk (Remove and Replace)
Remove
Remove the trunk lid trim. See Trim - Lid - Trunk (Remove and Replace).
Disconnect the electrical connector from the trunk latch.
Remove the bolts that attach the trunk latch to
 Manual Release - Door - Rear - LH (Actuate)
Open Rear Door Using Manual Release Cable
Note: This procedure describes how to manually open the rear door
on a vehicle that does not have 12V power.
Remove the bolt that attaches the access
 Striker - Door - Front - LH (Remove and Replace)
Remove
Open the LH front door.
Mark the position of the LH front door striker using masking tape.
Remove the bolts that attach the LH front door striker to the body, and
then remove the
SEE MORE:
 Sensor - TPMS (Remove and Replace)
Remove
Remove the wheel. See Wheel (Remove and Install).
Place the wheel on the tire changer, with the
outside of the wheel facing up.
Insert the center cl
 Cover - Airbag - Knee - Front Passenger (Remove and Replace) - Remove
Remove
Disconnect 12V power. See
12V Power (Disconnect and Connect).
Remove the passenger footwell cover. See
Cover - Footwell - Passenger (LHD) (Remove and Replace).
Remove the T20 bolts (x2) that attach the front passenger knee airbag
cover to the vehicle.
Remove and discard
© 2019-2026 Copyright www.tmodel3.com

